-
Pianos
-
Guitars
-
Instruments
-
Music
- Services
- Help & Advice
-
Events
- Sat 21 June: Yamaha Piano Day
- Thu 26 June, 6:30 PM - Iwan Owen: Piano Recital
- Sat 5 July from 10:30 am - Let’s Play The Piano! Mini Meetups
- Fri 18 July, 6:30 PM - Matthew Lau
- Sat 26 July 2pm: Free Seminar: M.A.D. Music & Art Seminar for Piano and Theory Graded Exam Tips, Accompaniment and Duet
- Fri 8 August, 6:30PM: Charity fundraiser for Tearfund - Mick Blaylock plays melodies for a summer evening
- Sat 23 August, 11:00 AM - Penelope Roskell: Piano Technique from Elementary to Intermediate
- Past Events
- Pre 2023 Events
- Music Lessons
- Blog
How We Set-up New Violins
All of our instruments get set-up upon arrival with us, this is to ensure they're in perfect condition when you take them home. My name is Frances, I work in the Instrument Department here at Forsyth and in this post I'll take you through the process of setting up a Stentor Student Violin so you can see exactly what's involved!
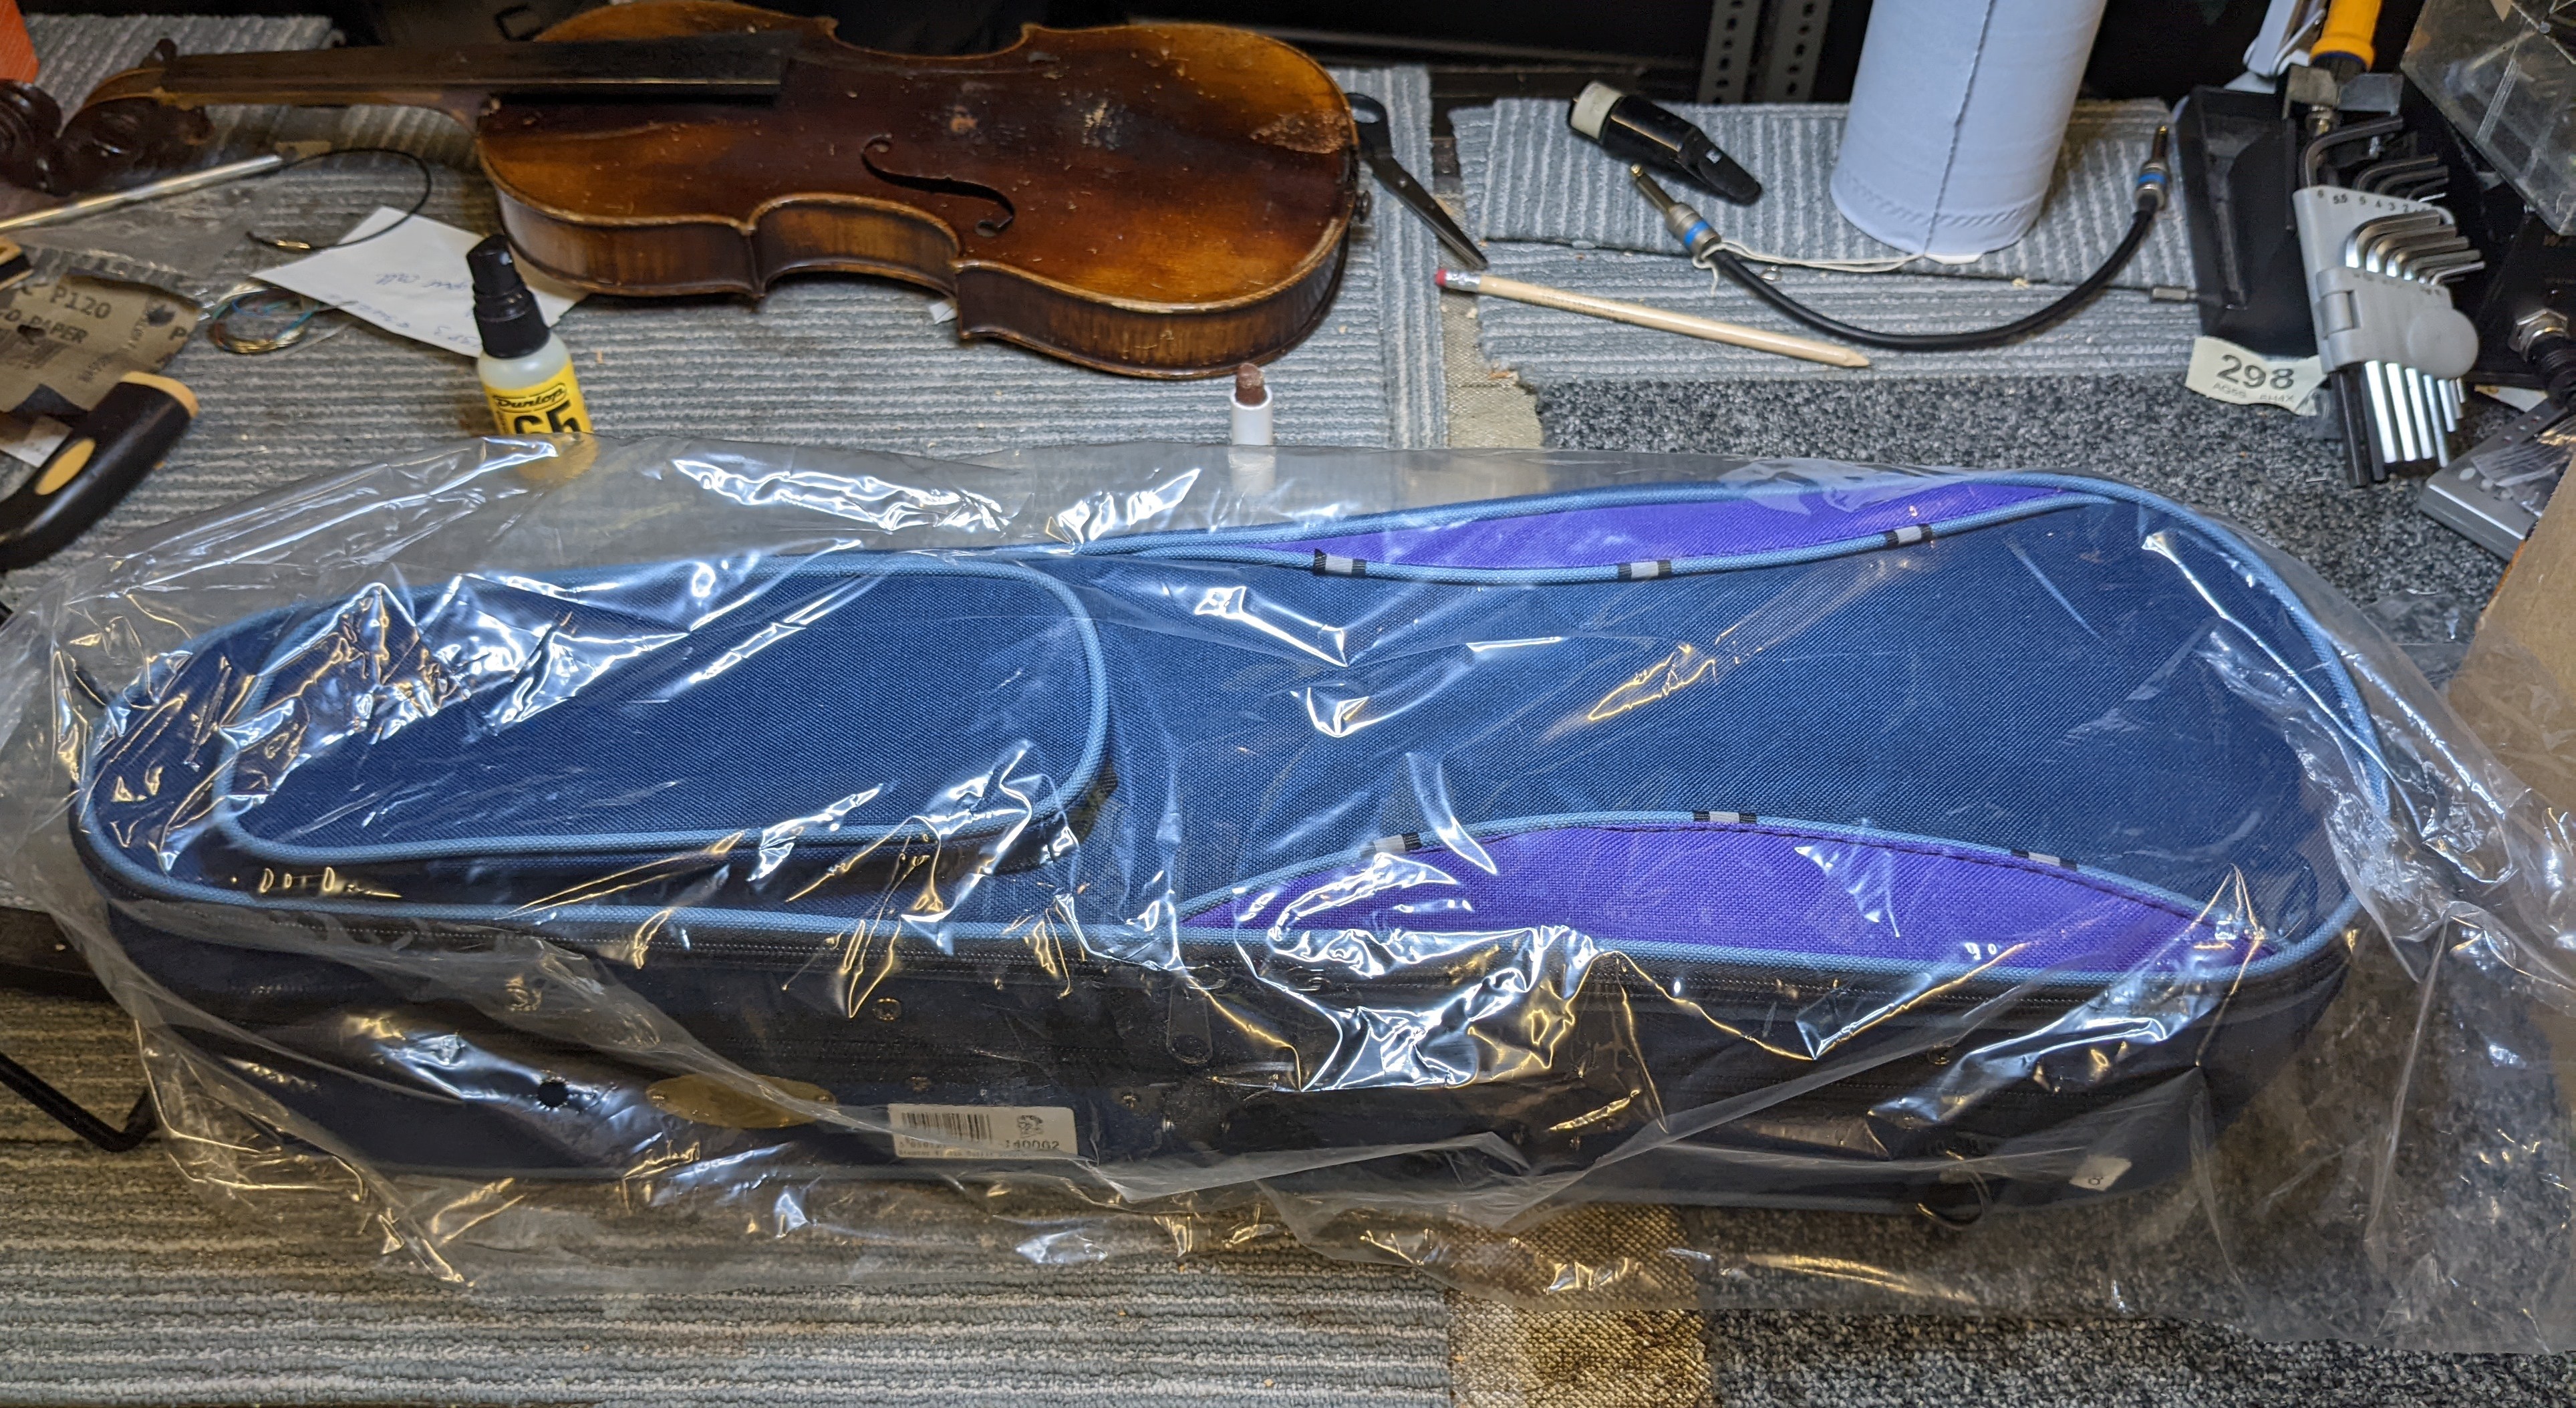
The violins arrive with bags covering their cases to ensure they arrive in pristine condition. So the first step is to unwrap them! Opening up the case reveals the violin, which is carefully padded to protect it during delivery. This is then removed so I can begin inspecting the violin.
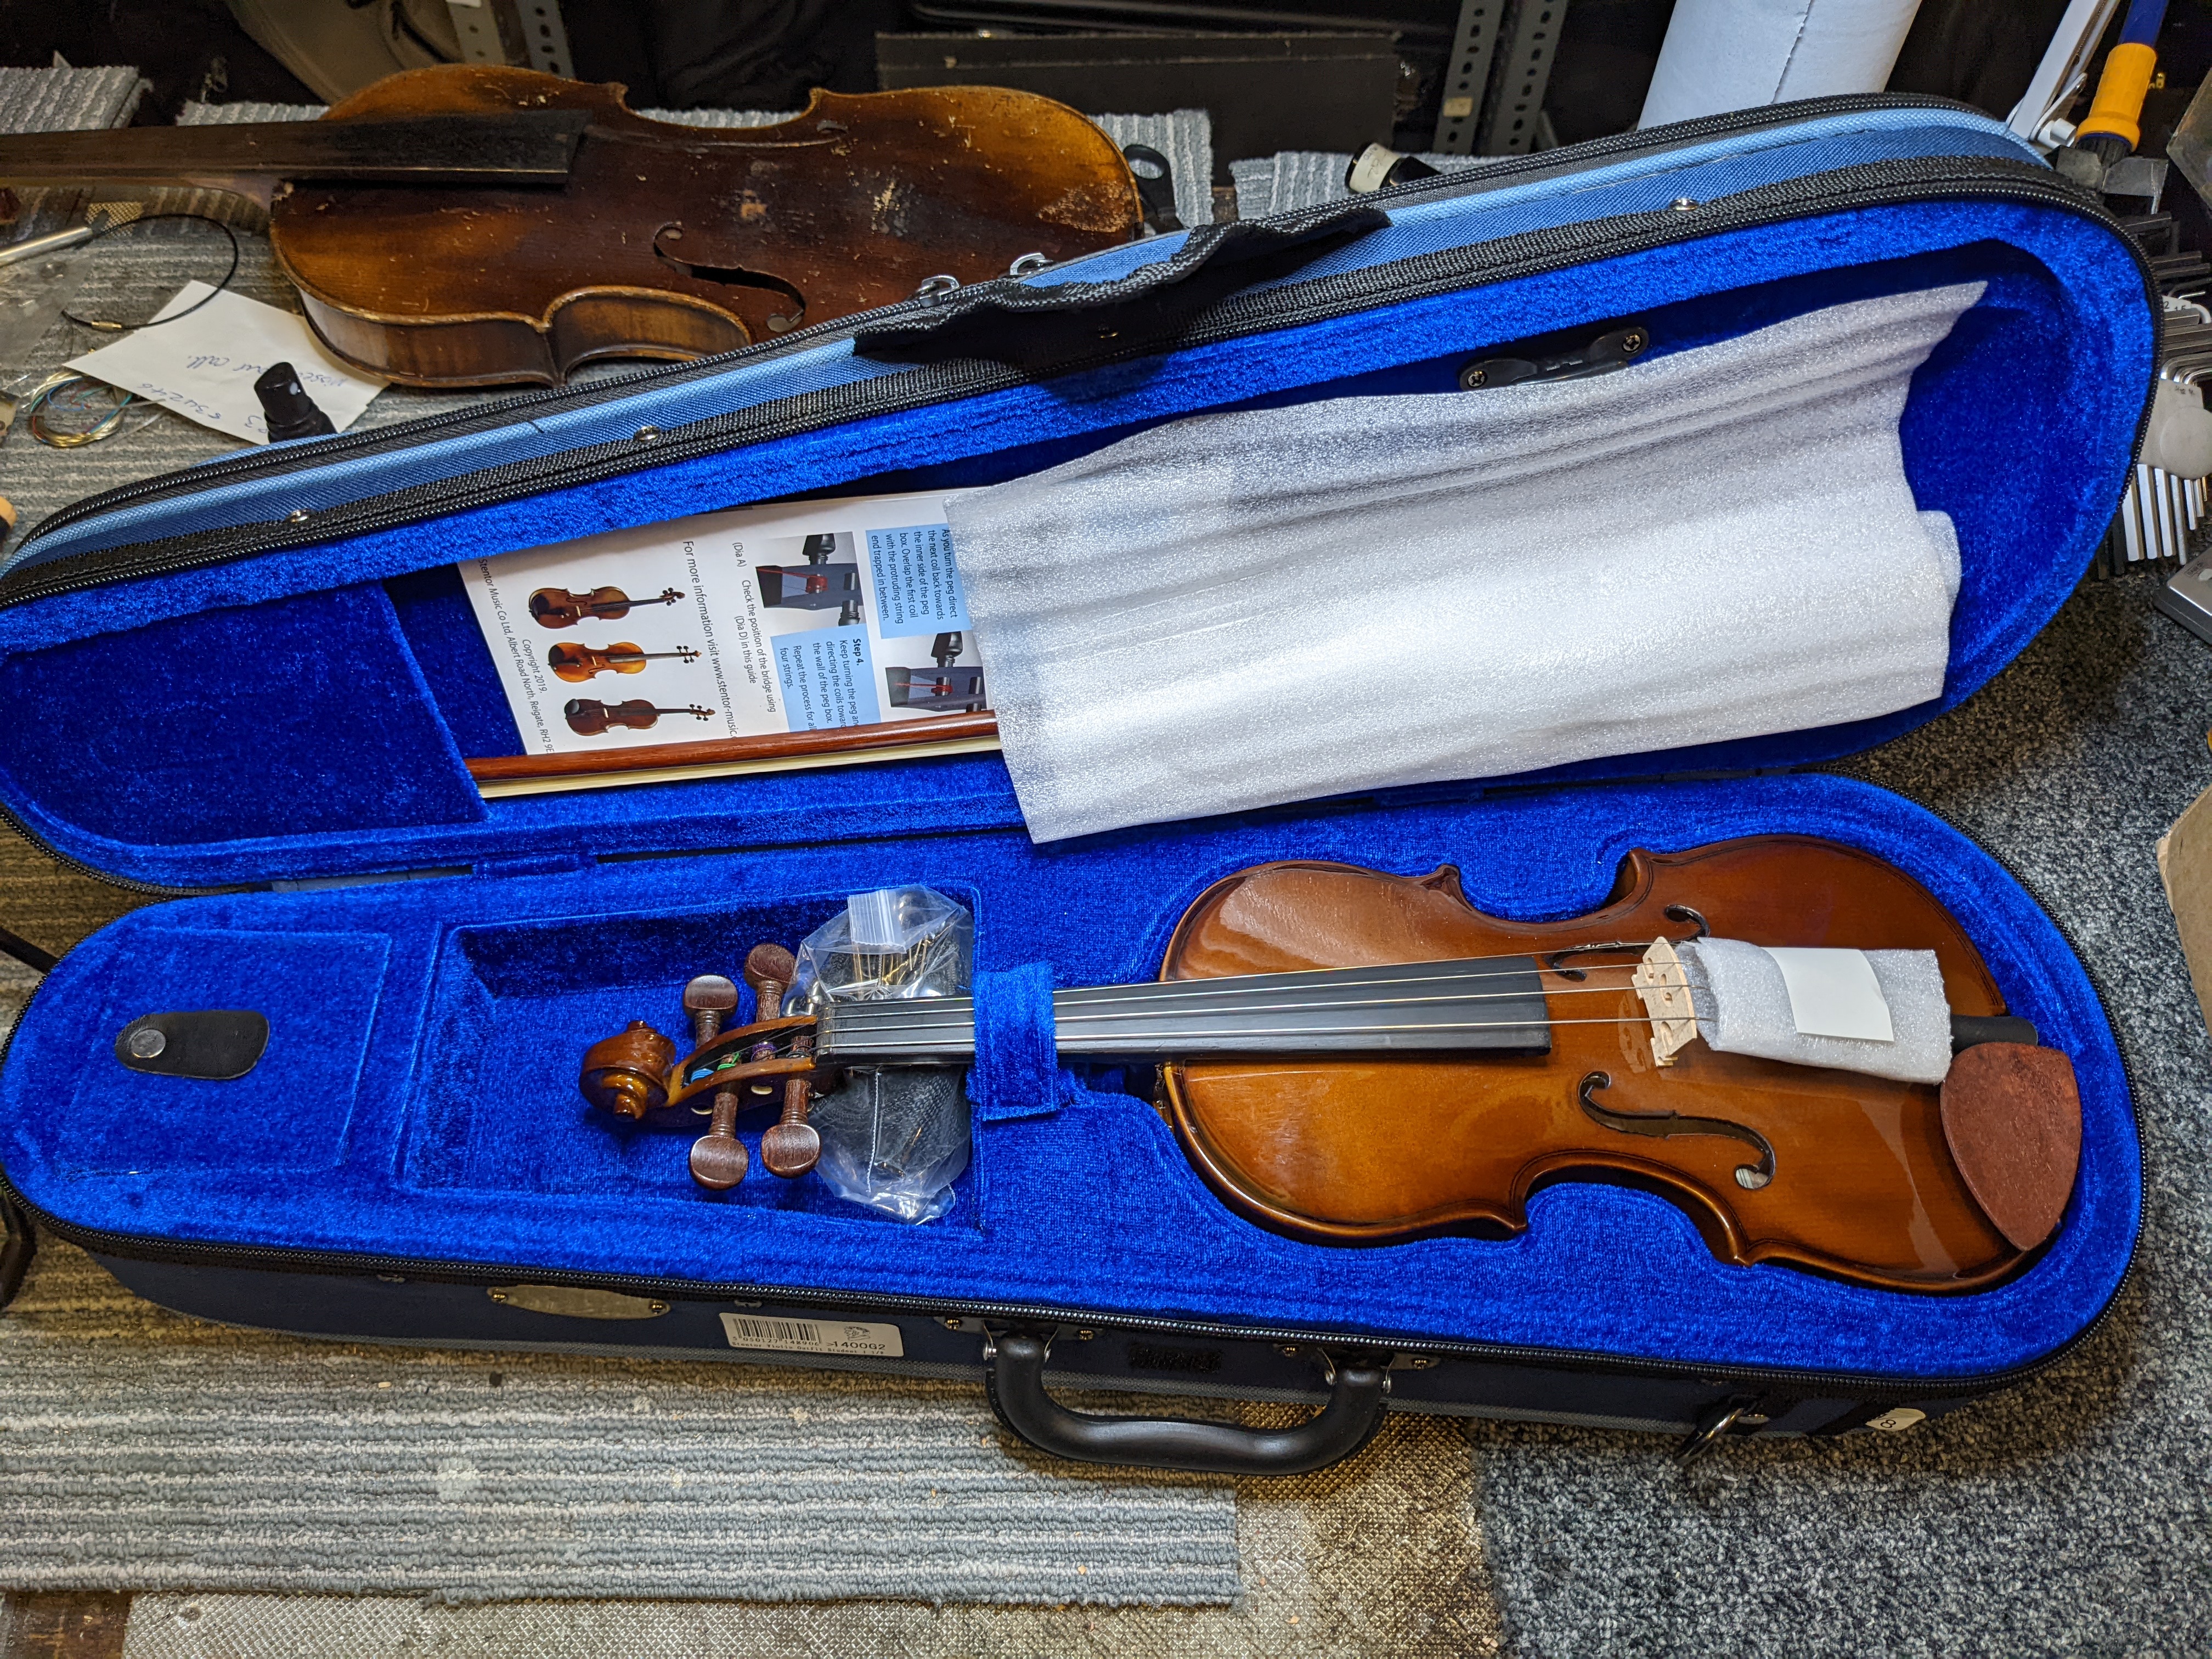
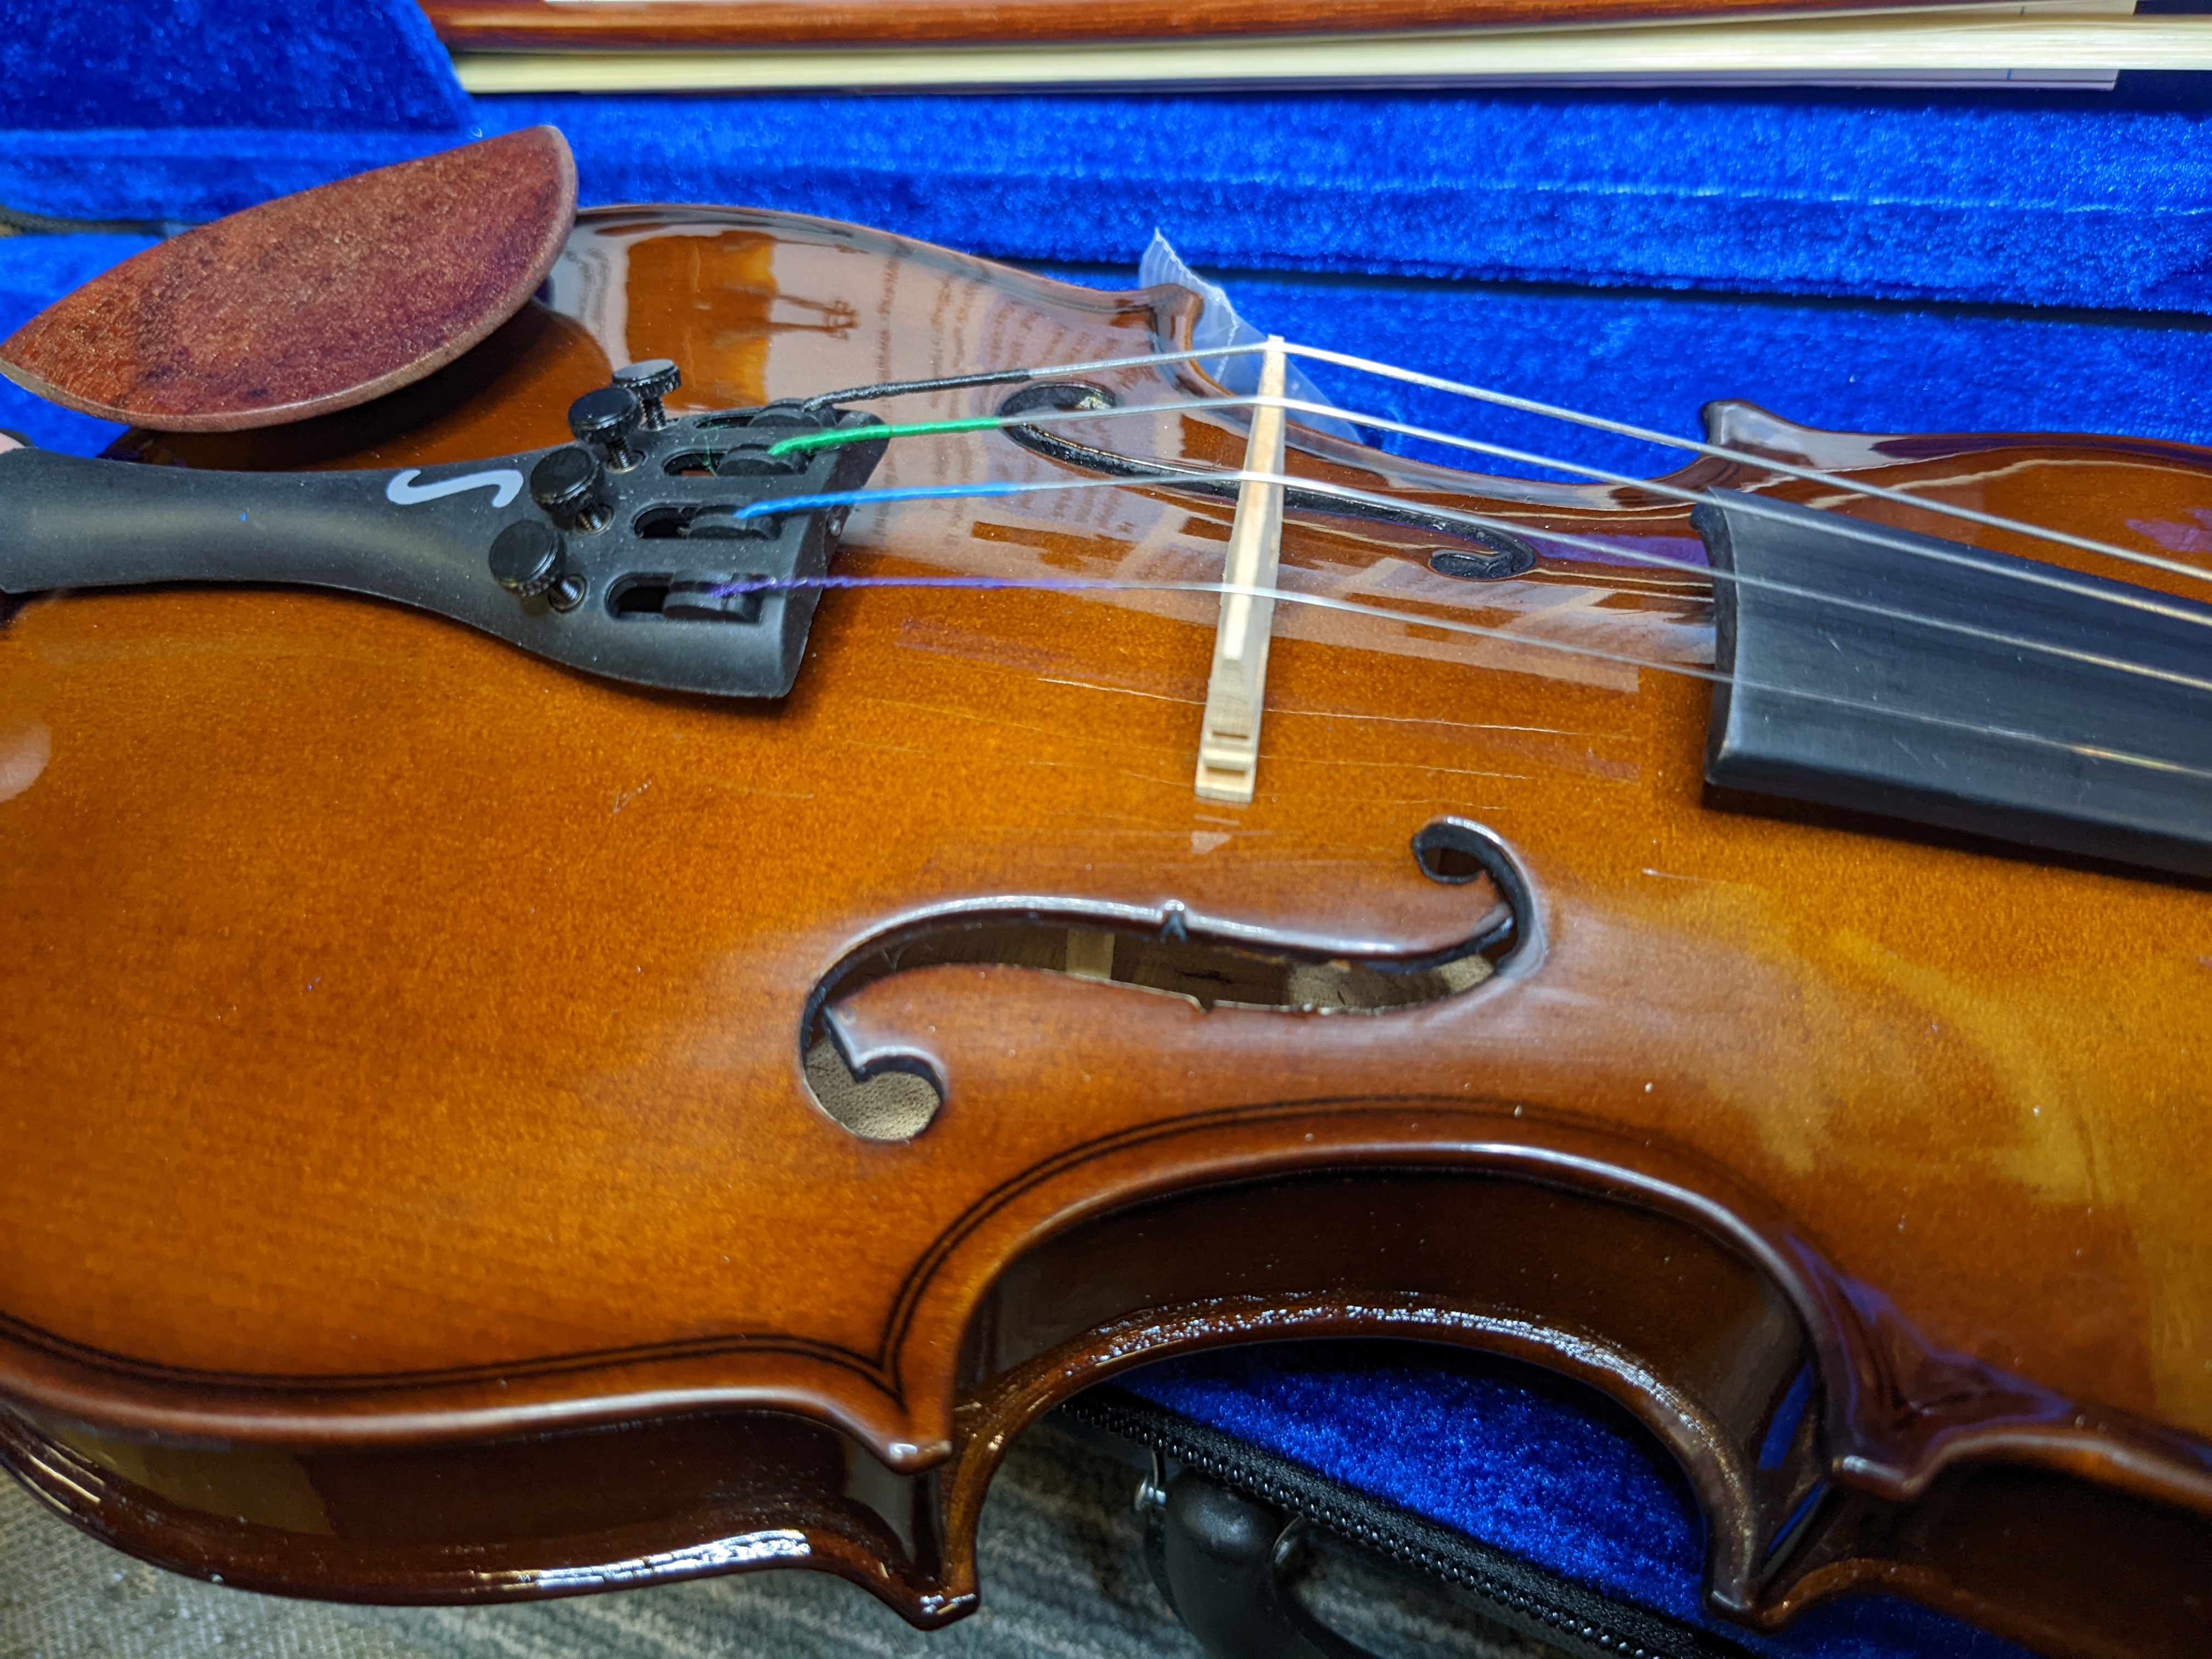
The first job is to have a peak through on of the f holes and make sure the soundpost is still standing. You can just see it below, to the left of the bridge inside the f hole closest to the camera.
The soundpost rarely falls in delivery, but it's always a good idea to check just in case!
Next up I check the bridge is in order, starting by moving it into the correct position. On this one the bridge was slightly to far to the right, so I'll move it level with the end of the fingerboard.
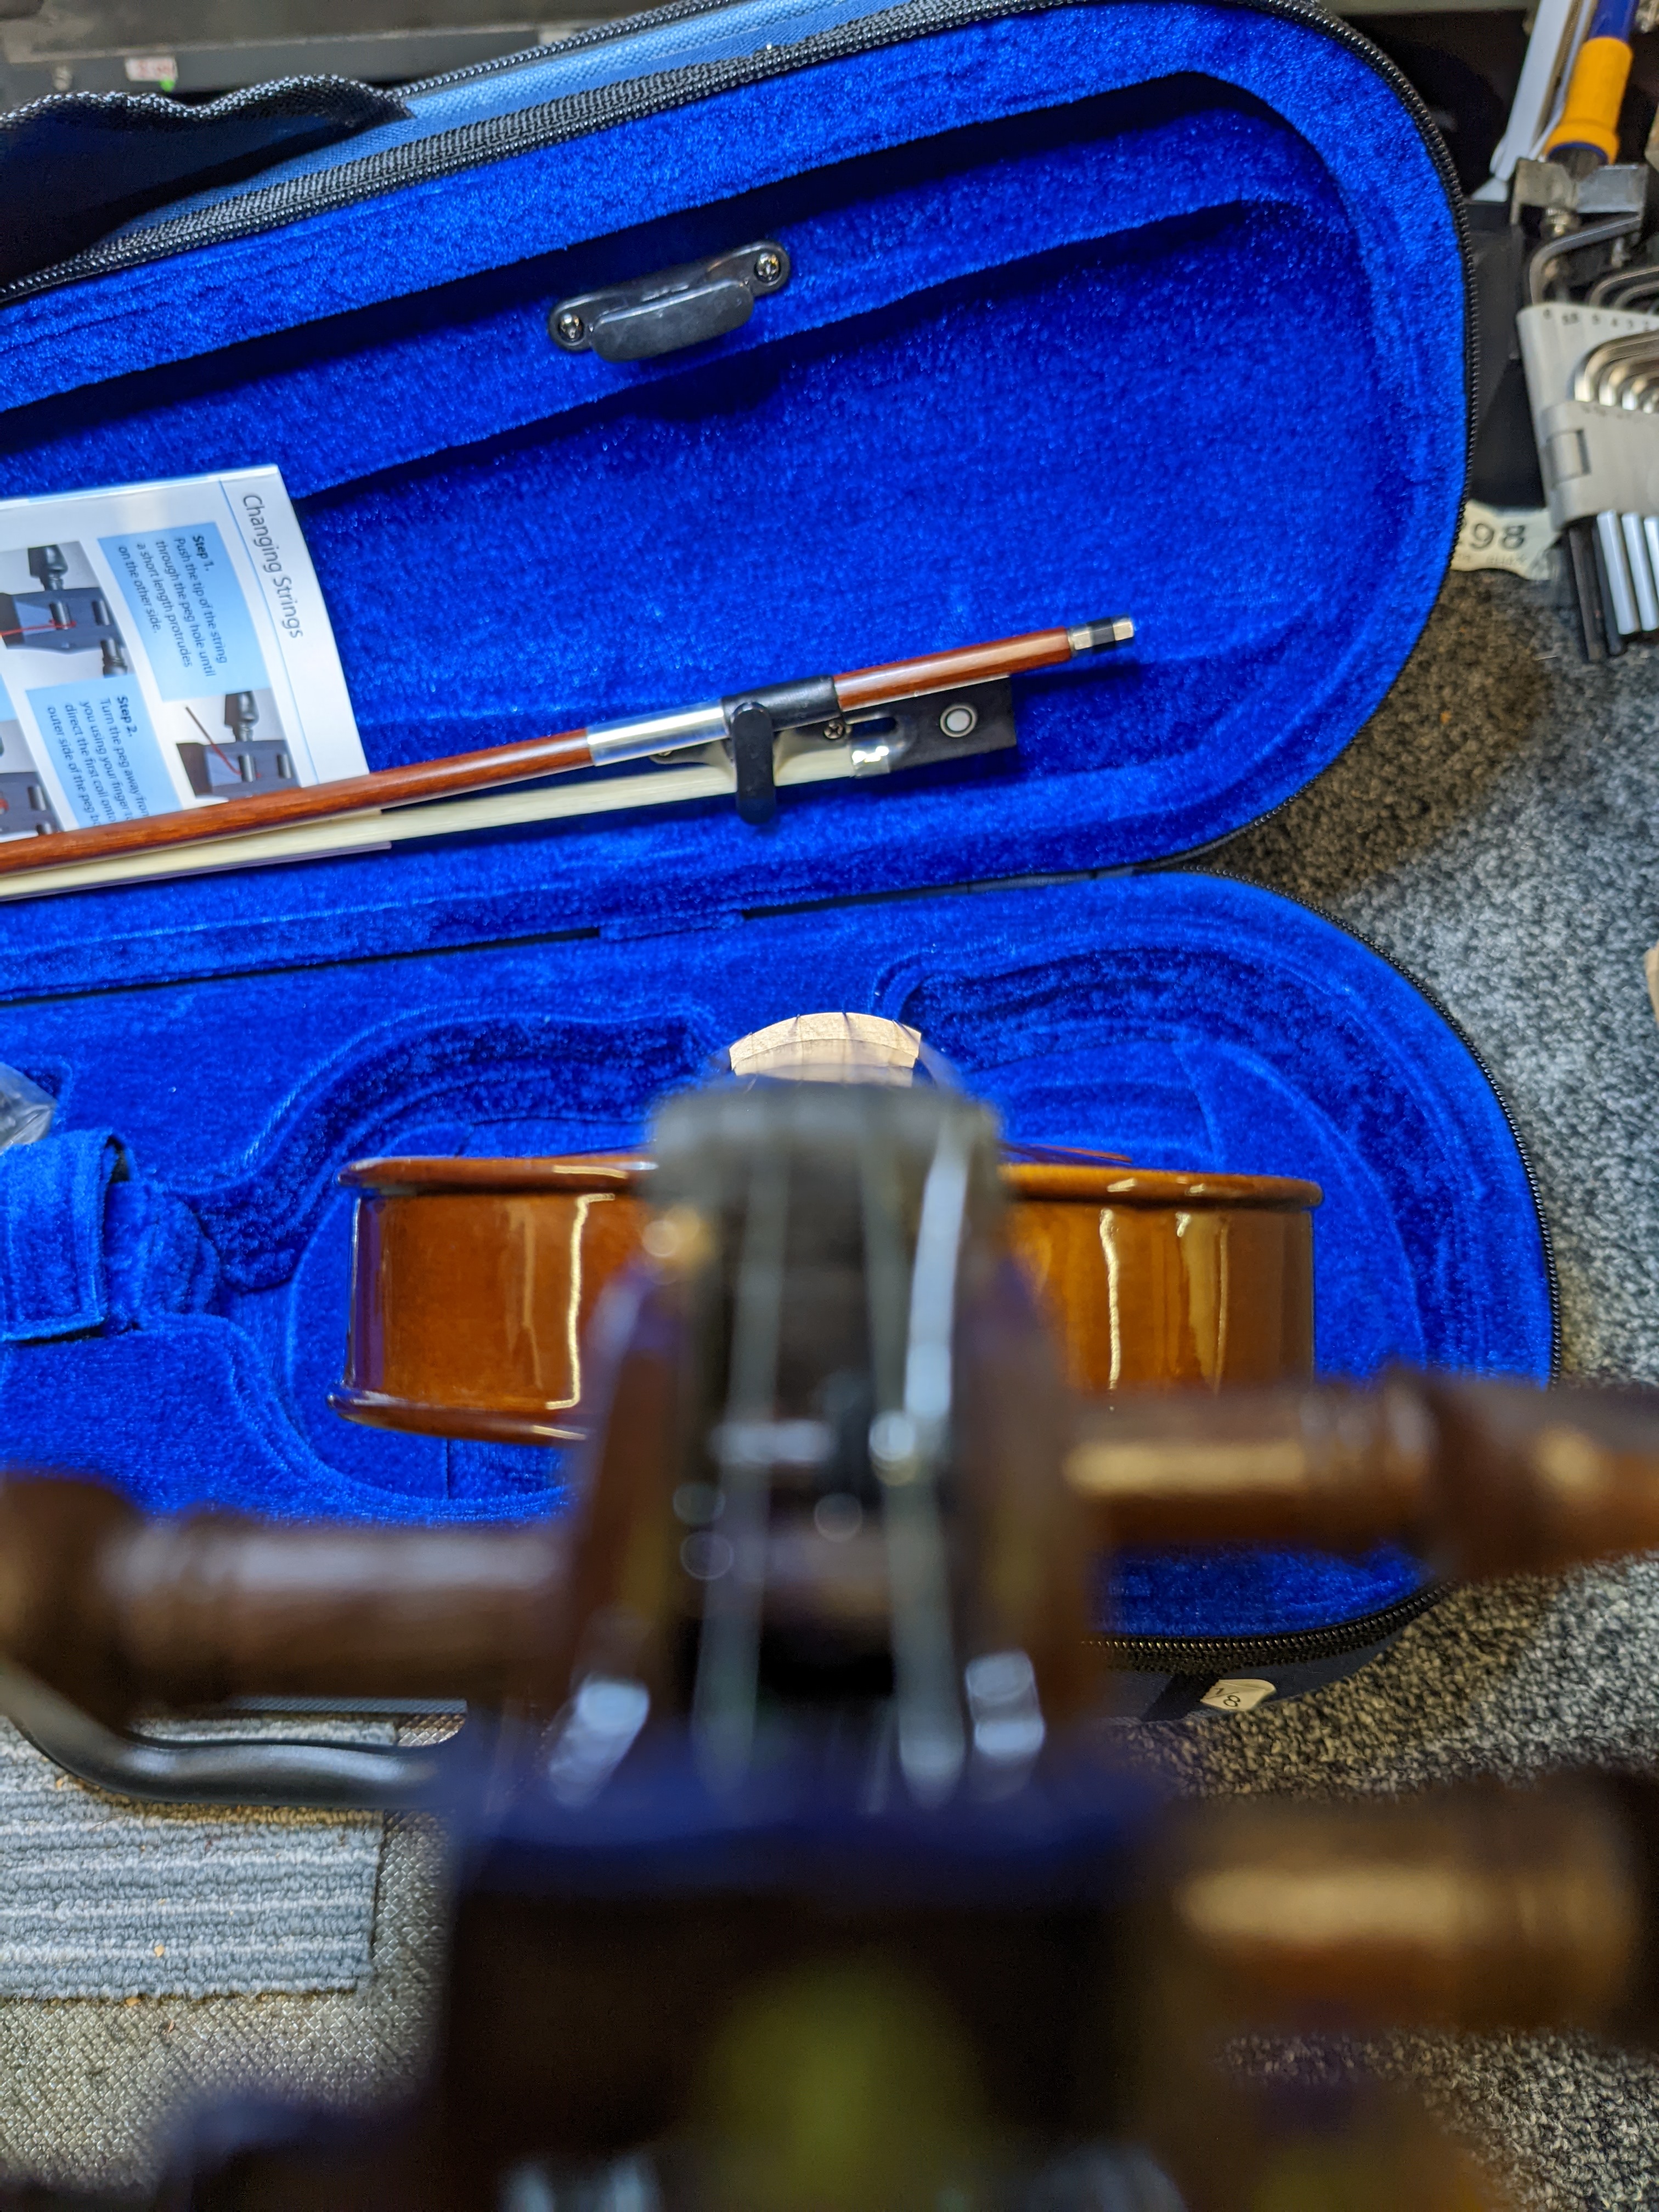
I then look down from the scroll of the violin and see how high the bridge is. This is why I moved the bridge, so I can accurately check it's height!
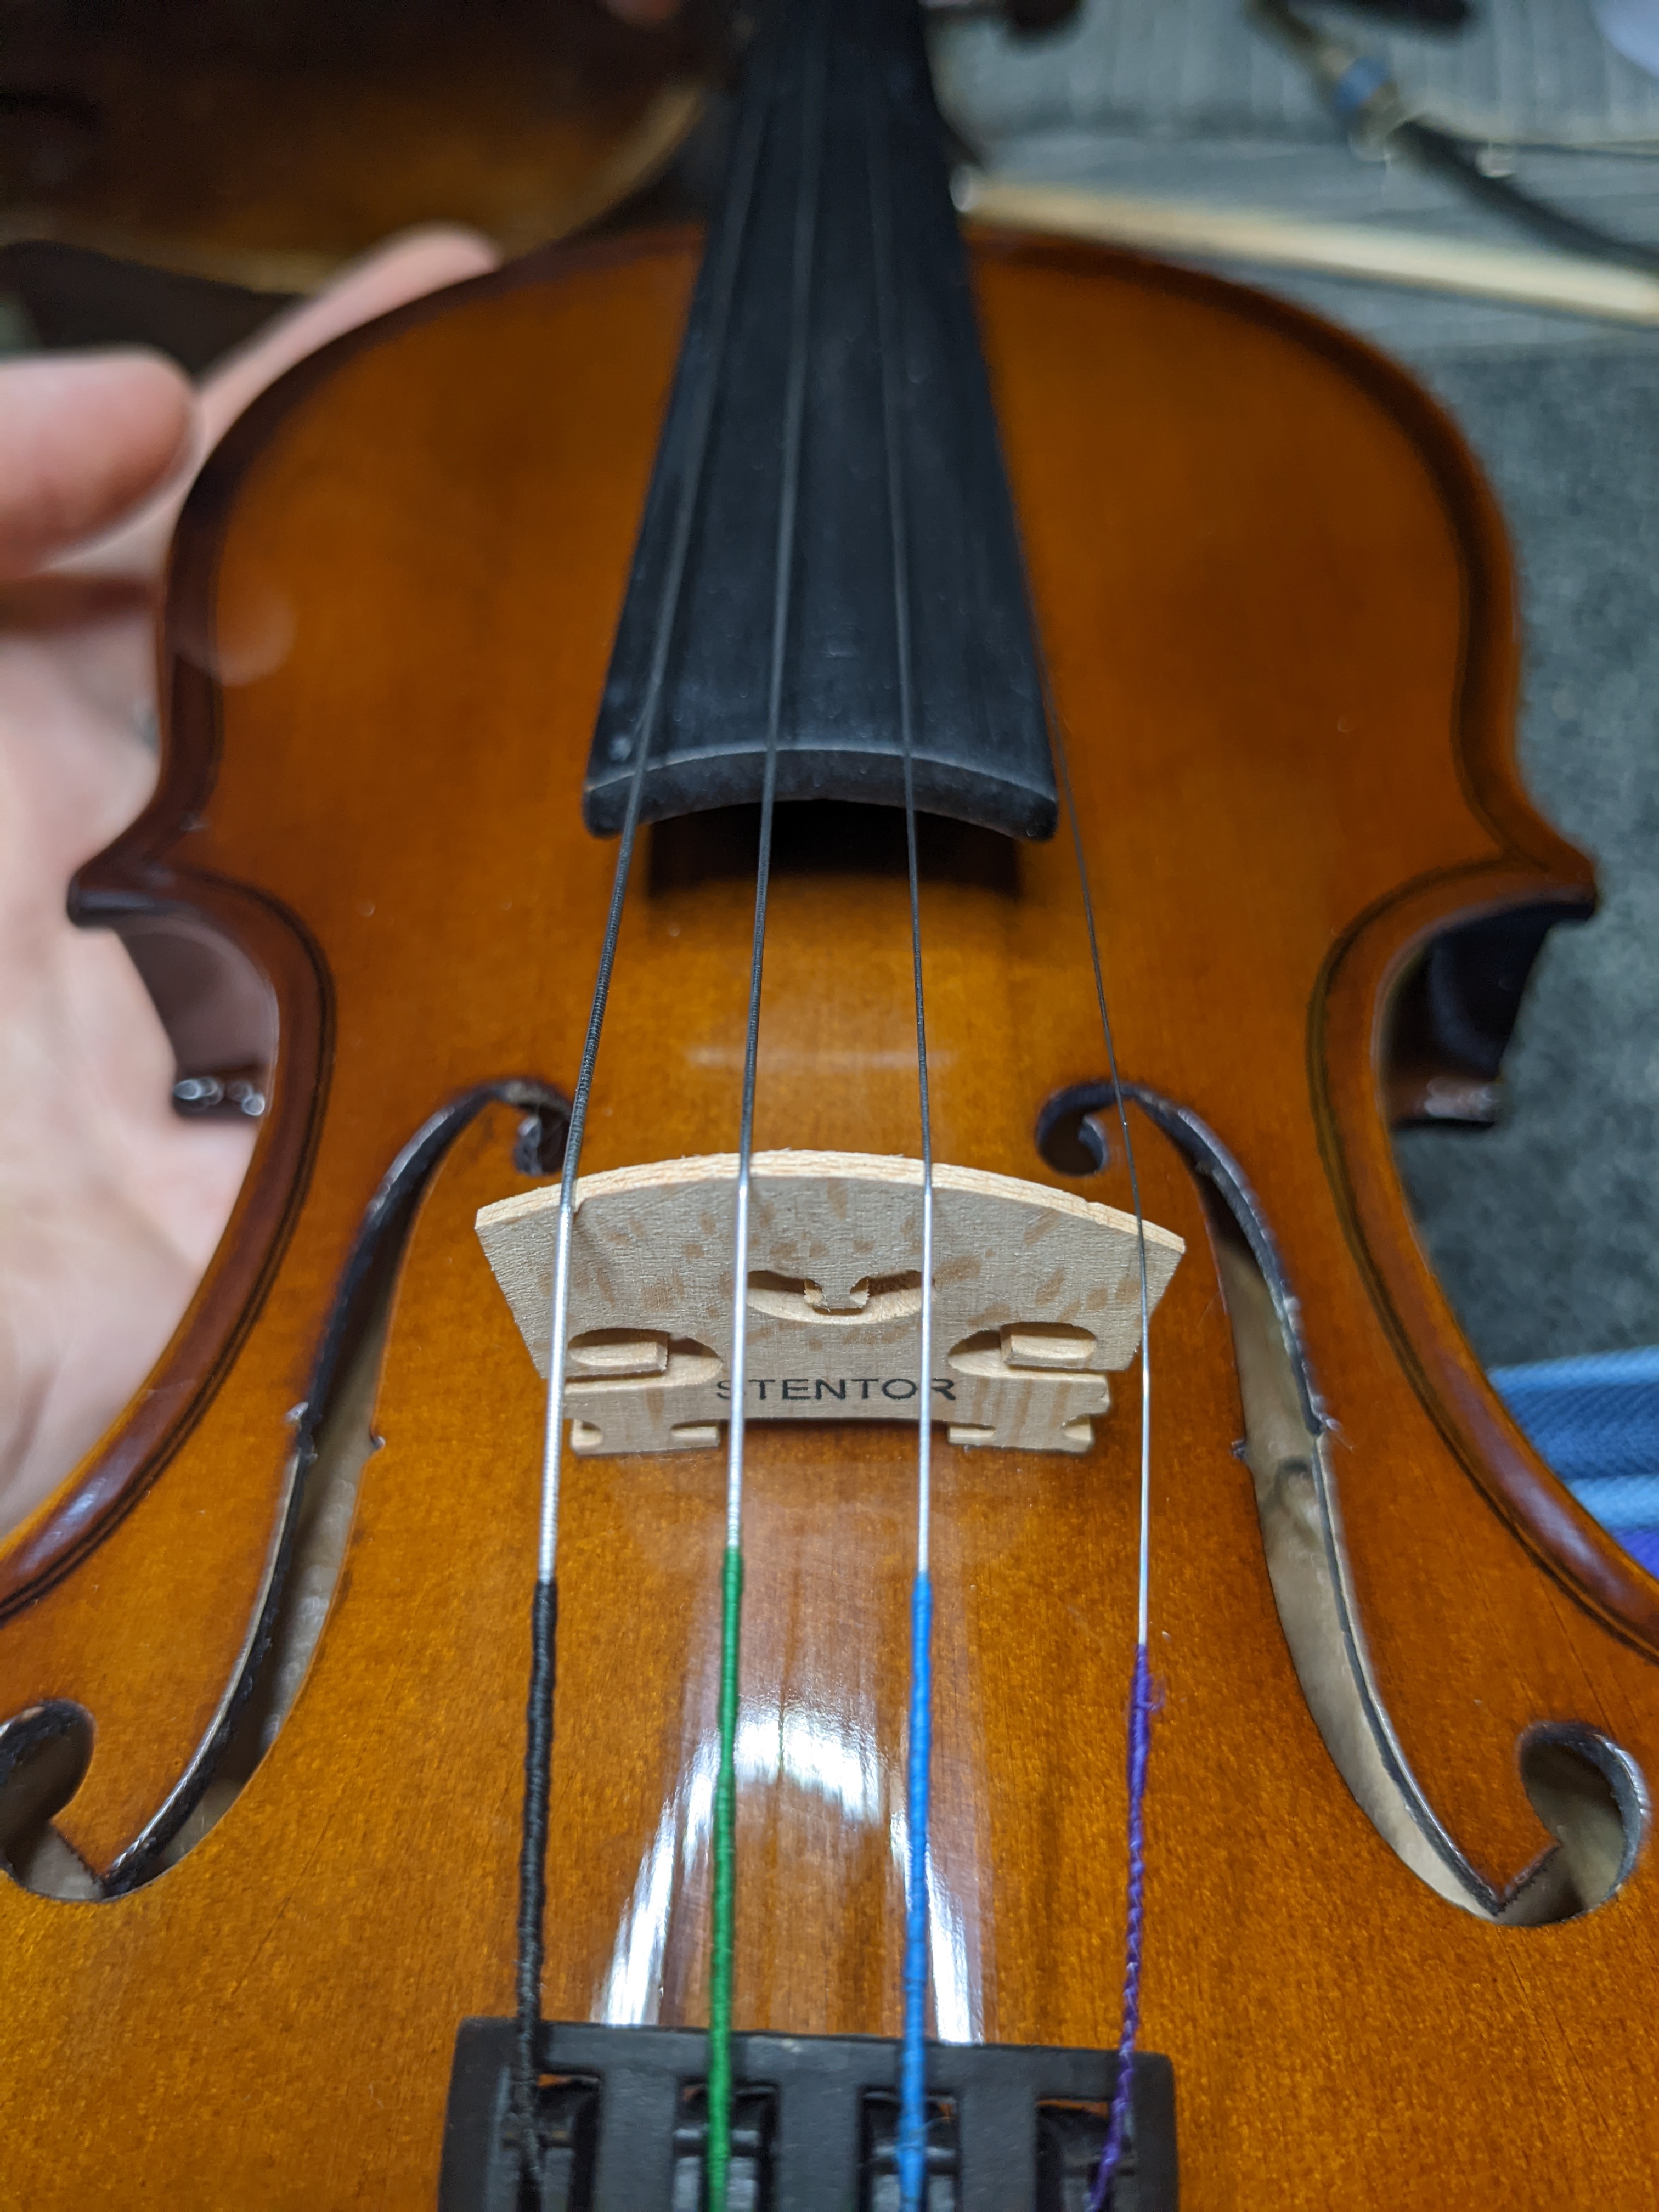
This bridge is a bit too high, particularly on the right hand side here under the lower strings. This means the strings will be too high off the fingerboard and therefore difficult to press down. So we need to lower the bridge slightly to make it more comfortable to play!
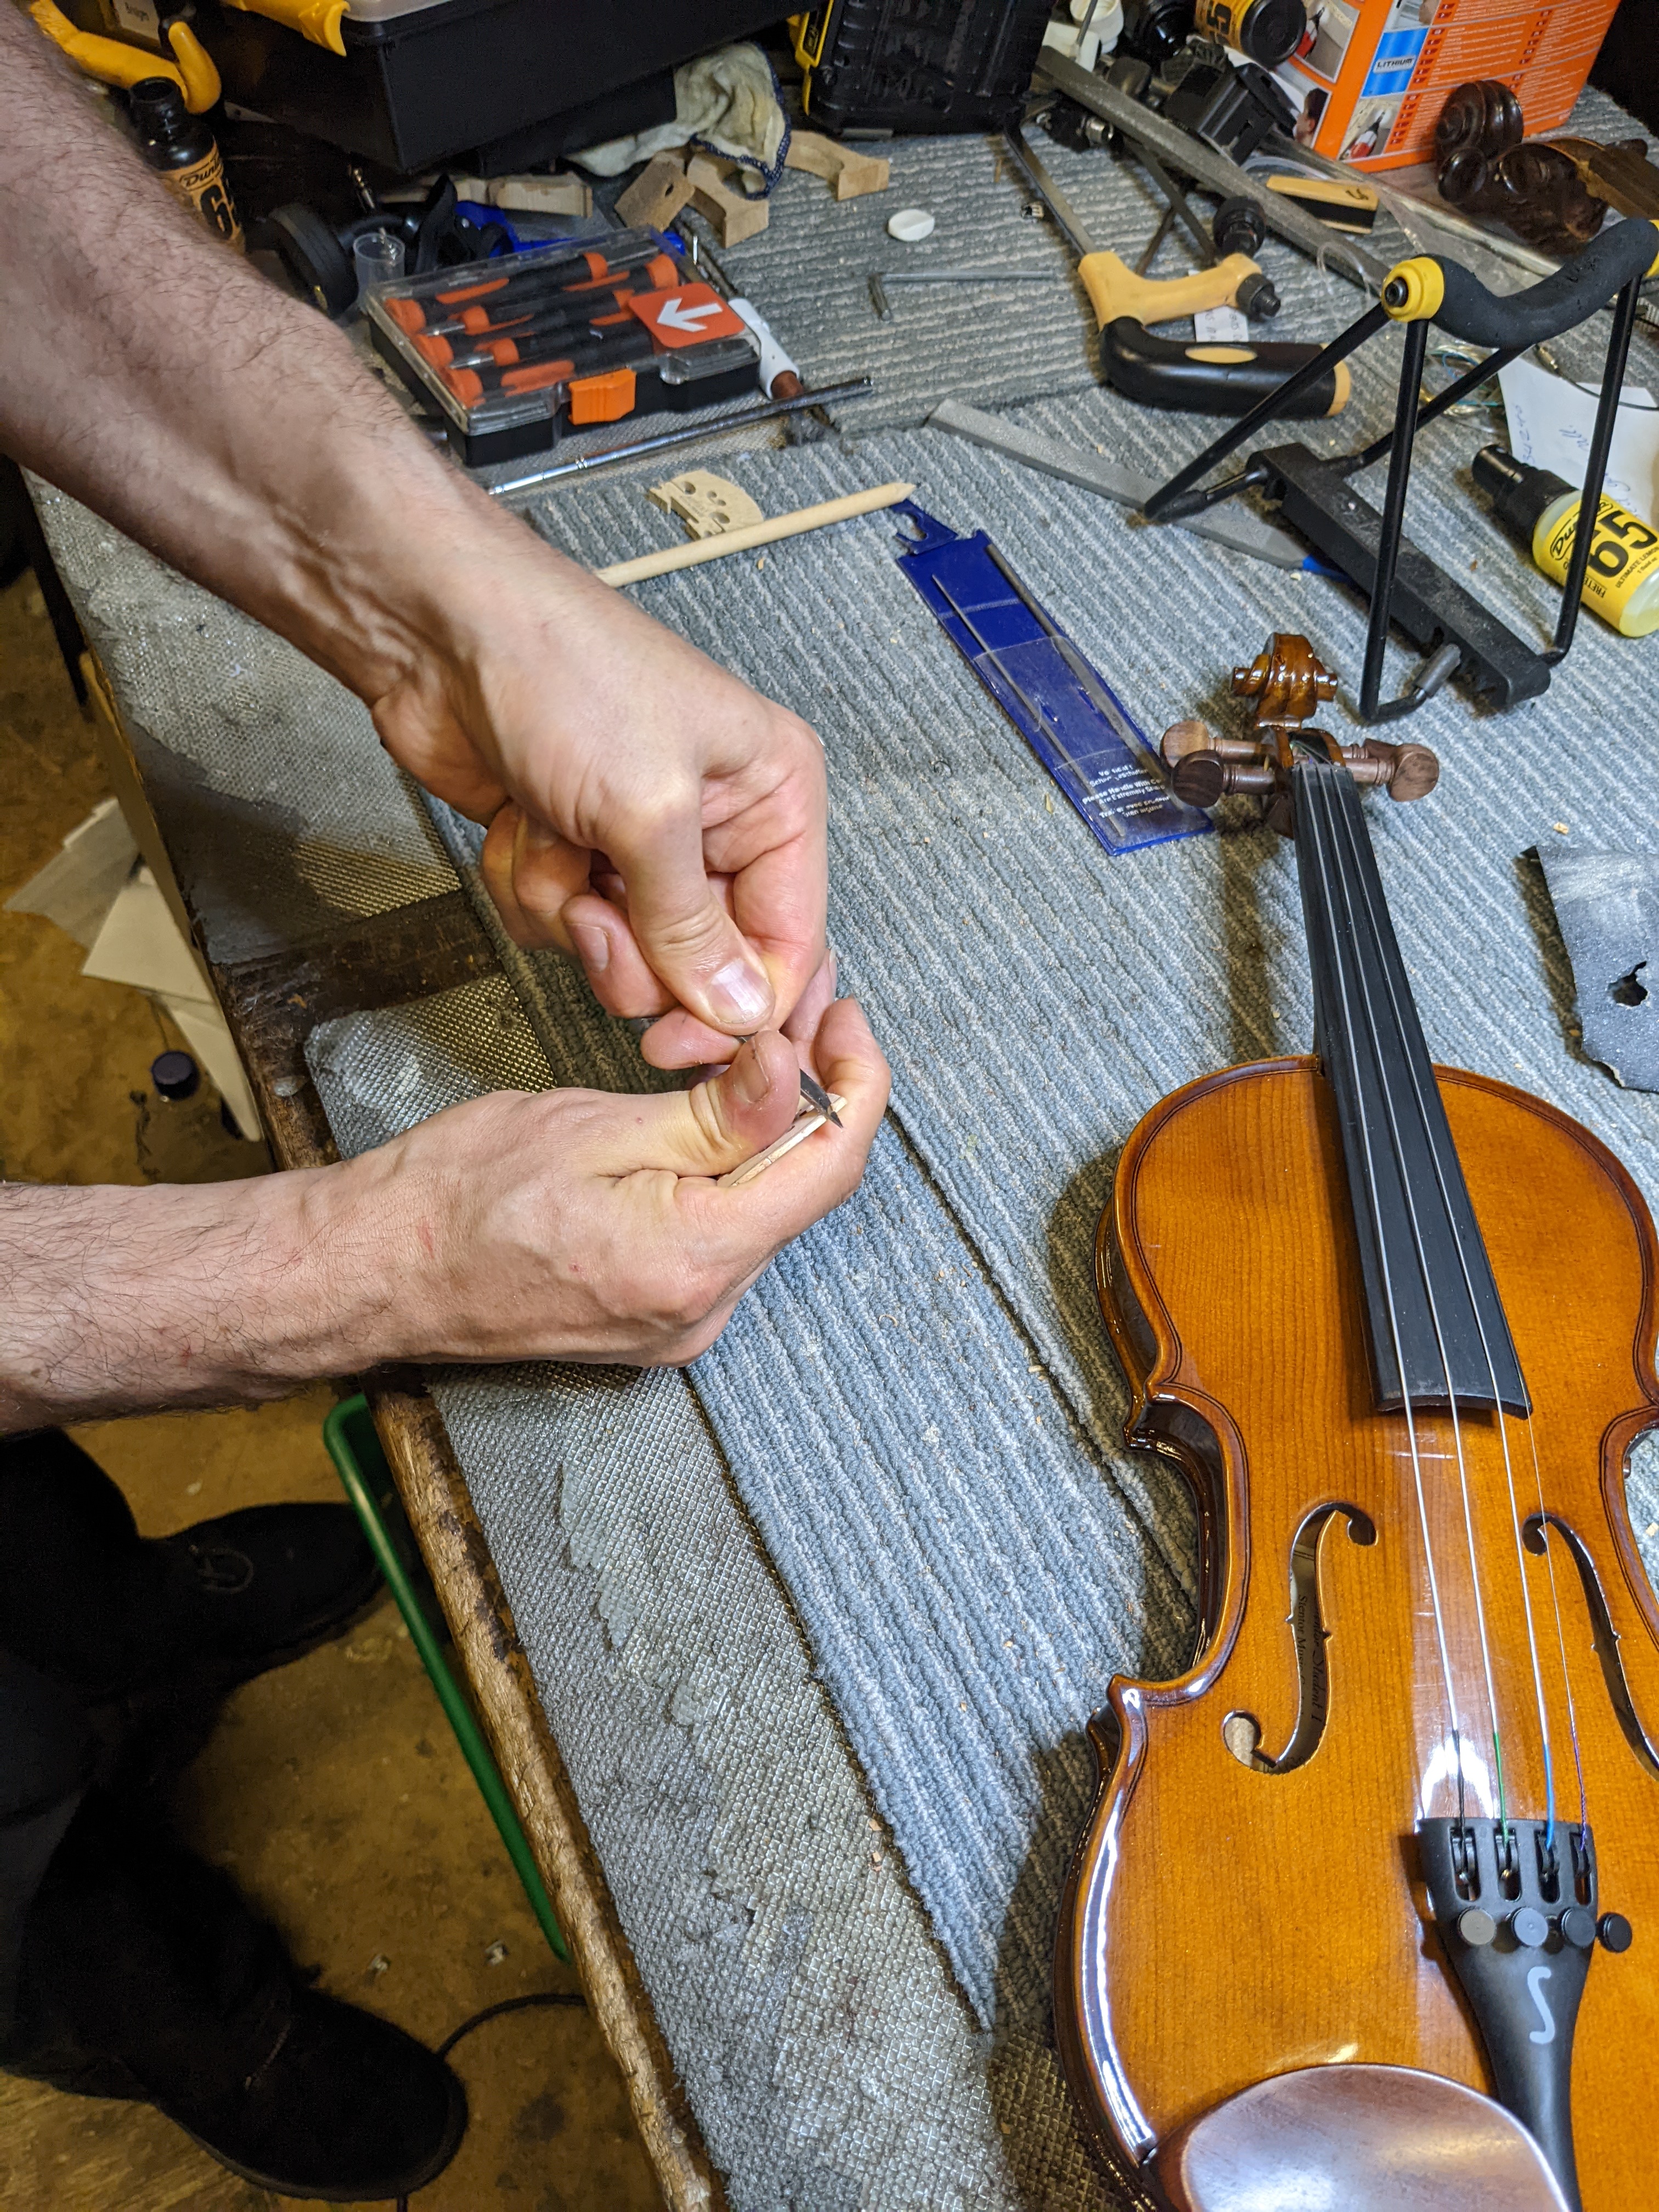
Here's where I pass the violin over to James. He carefully carves the bridge, taking material from the top of the bridge in precise strokes to get it to the right height. This is a very delicate job, especially as this is a 1/4 size violin so the bridge is very small! When it's been fully carved James will gently create grooves in the top of the bridge for the strings to rest in, before he passes the violin back to me so I can finish the set-up.
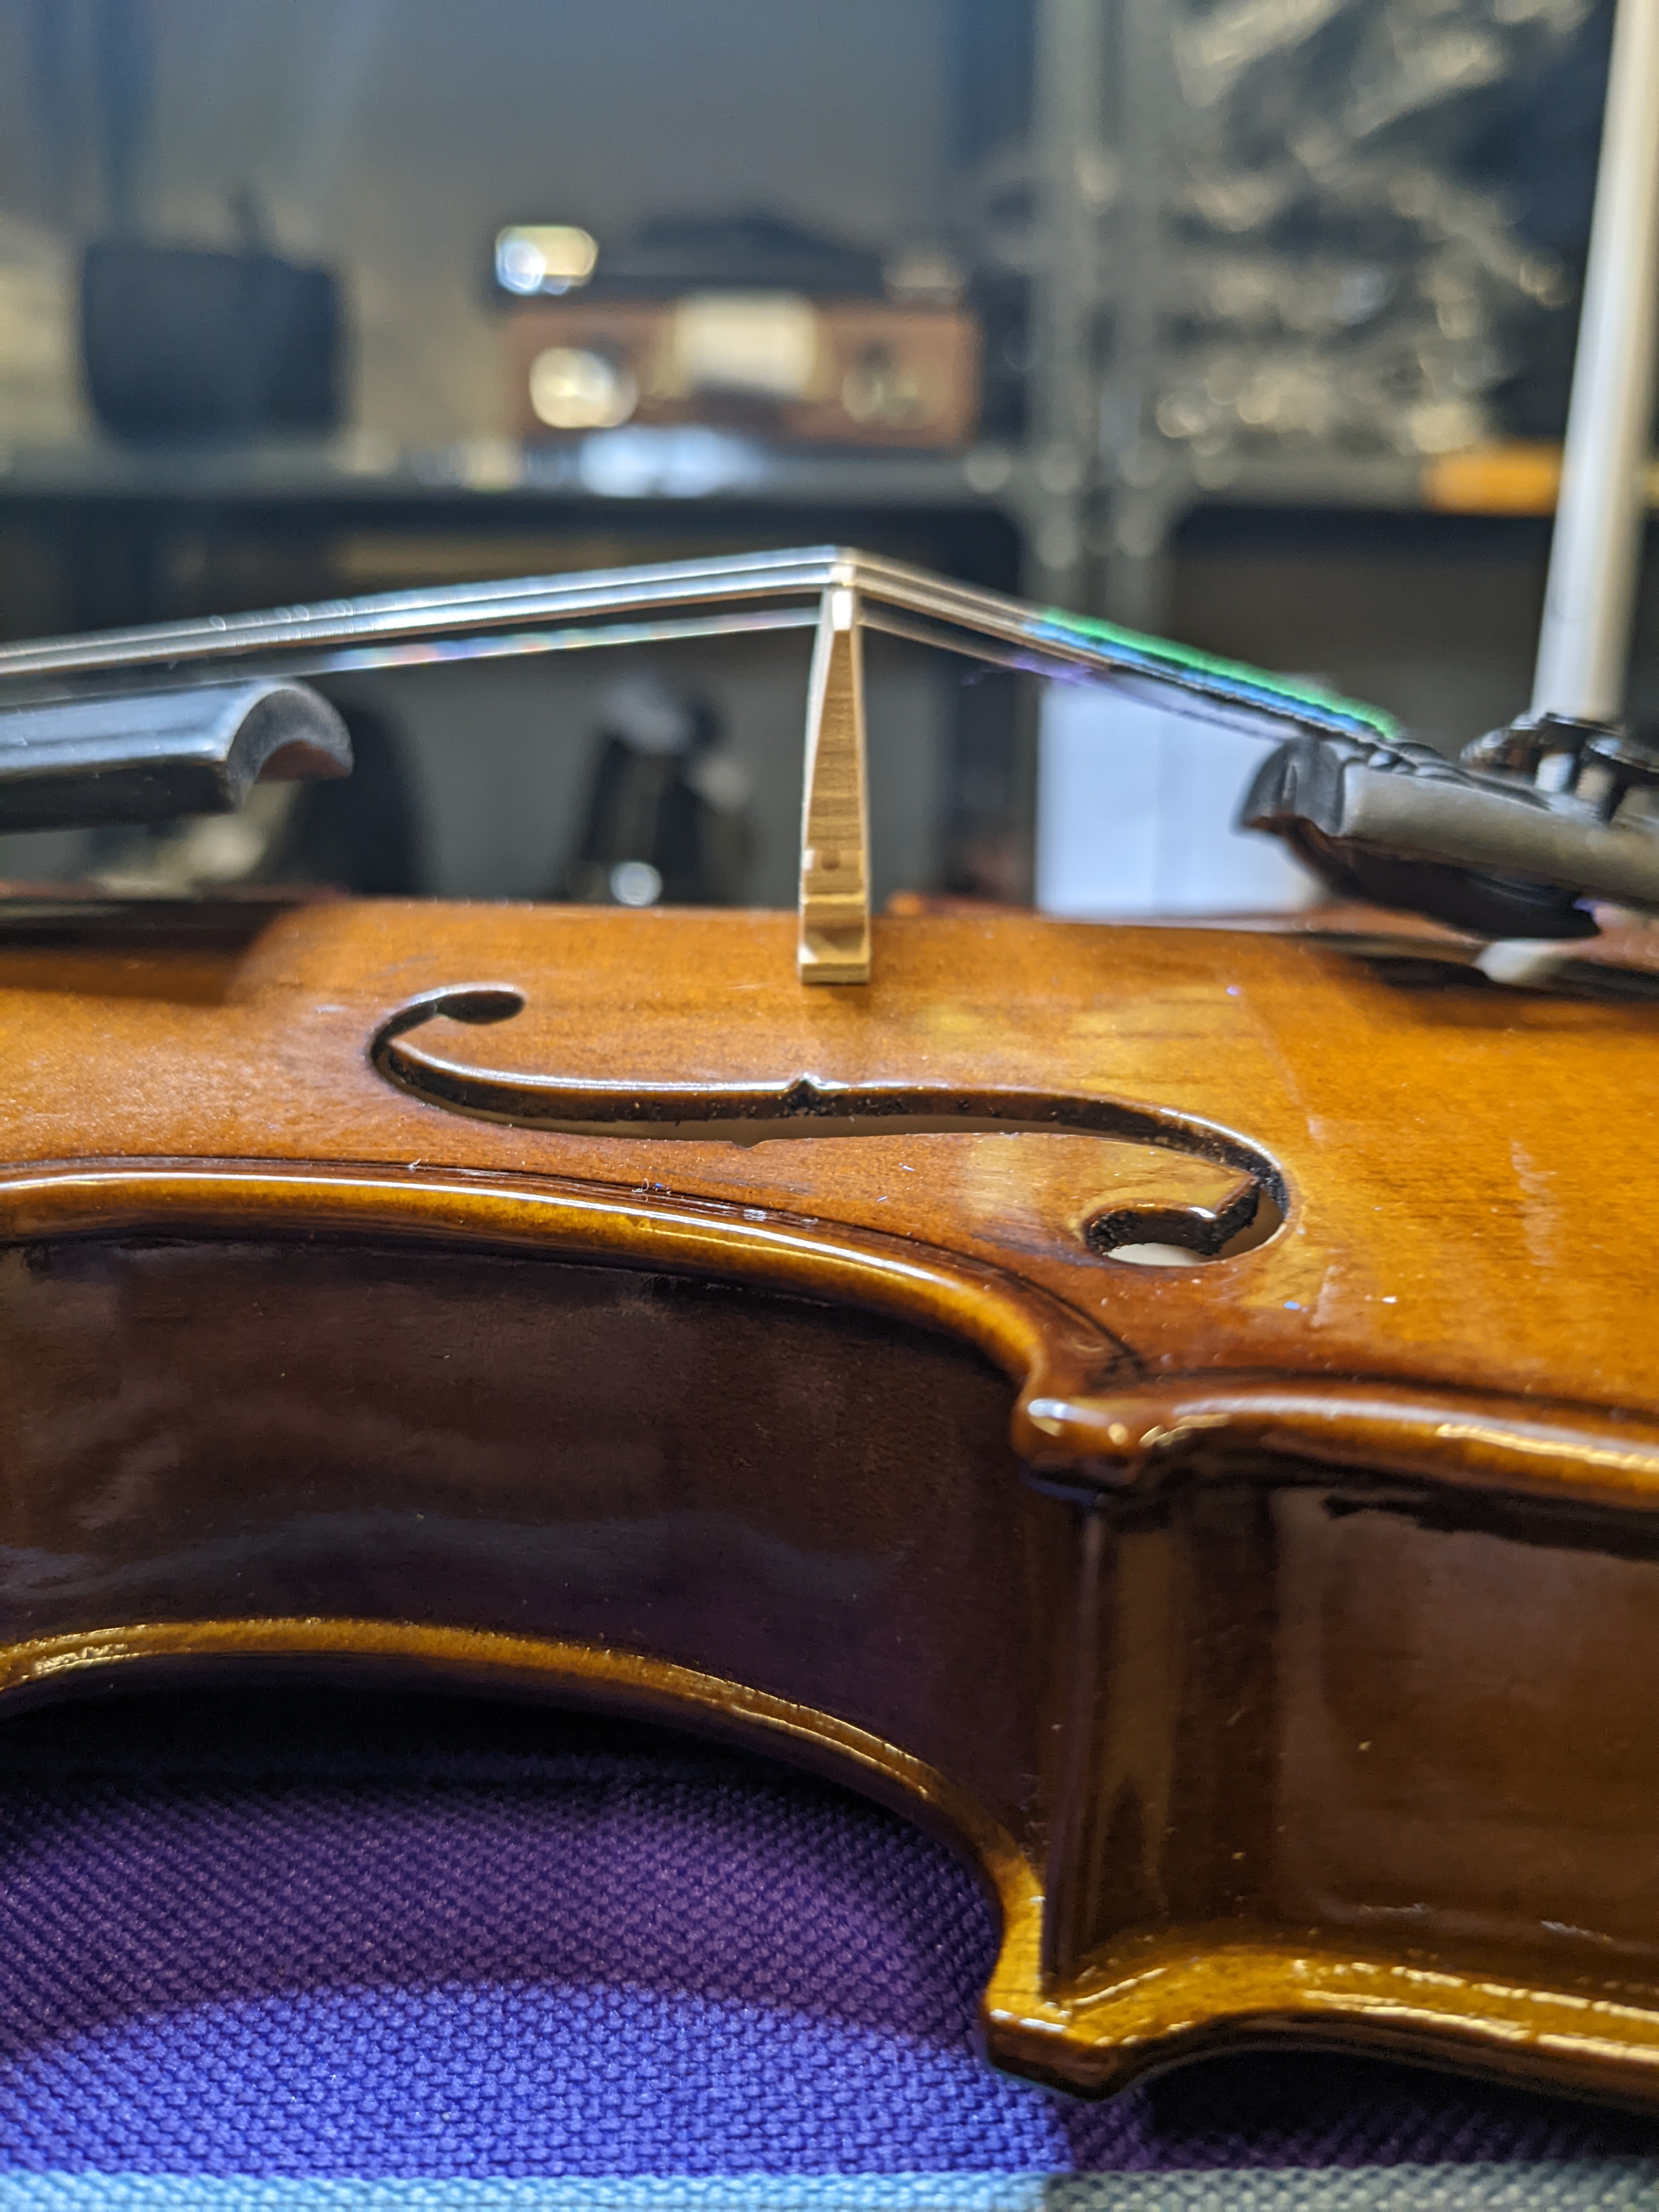
Now the bridge is back on and in position, at the correct height! I'll do one final check of the bridge to make sure it is perfectly perpendicular to the body of the violin.
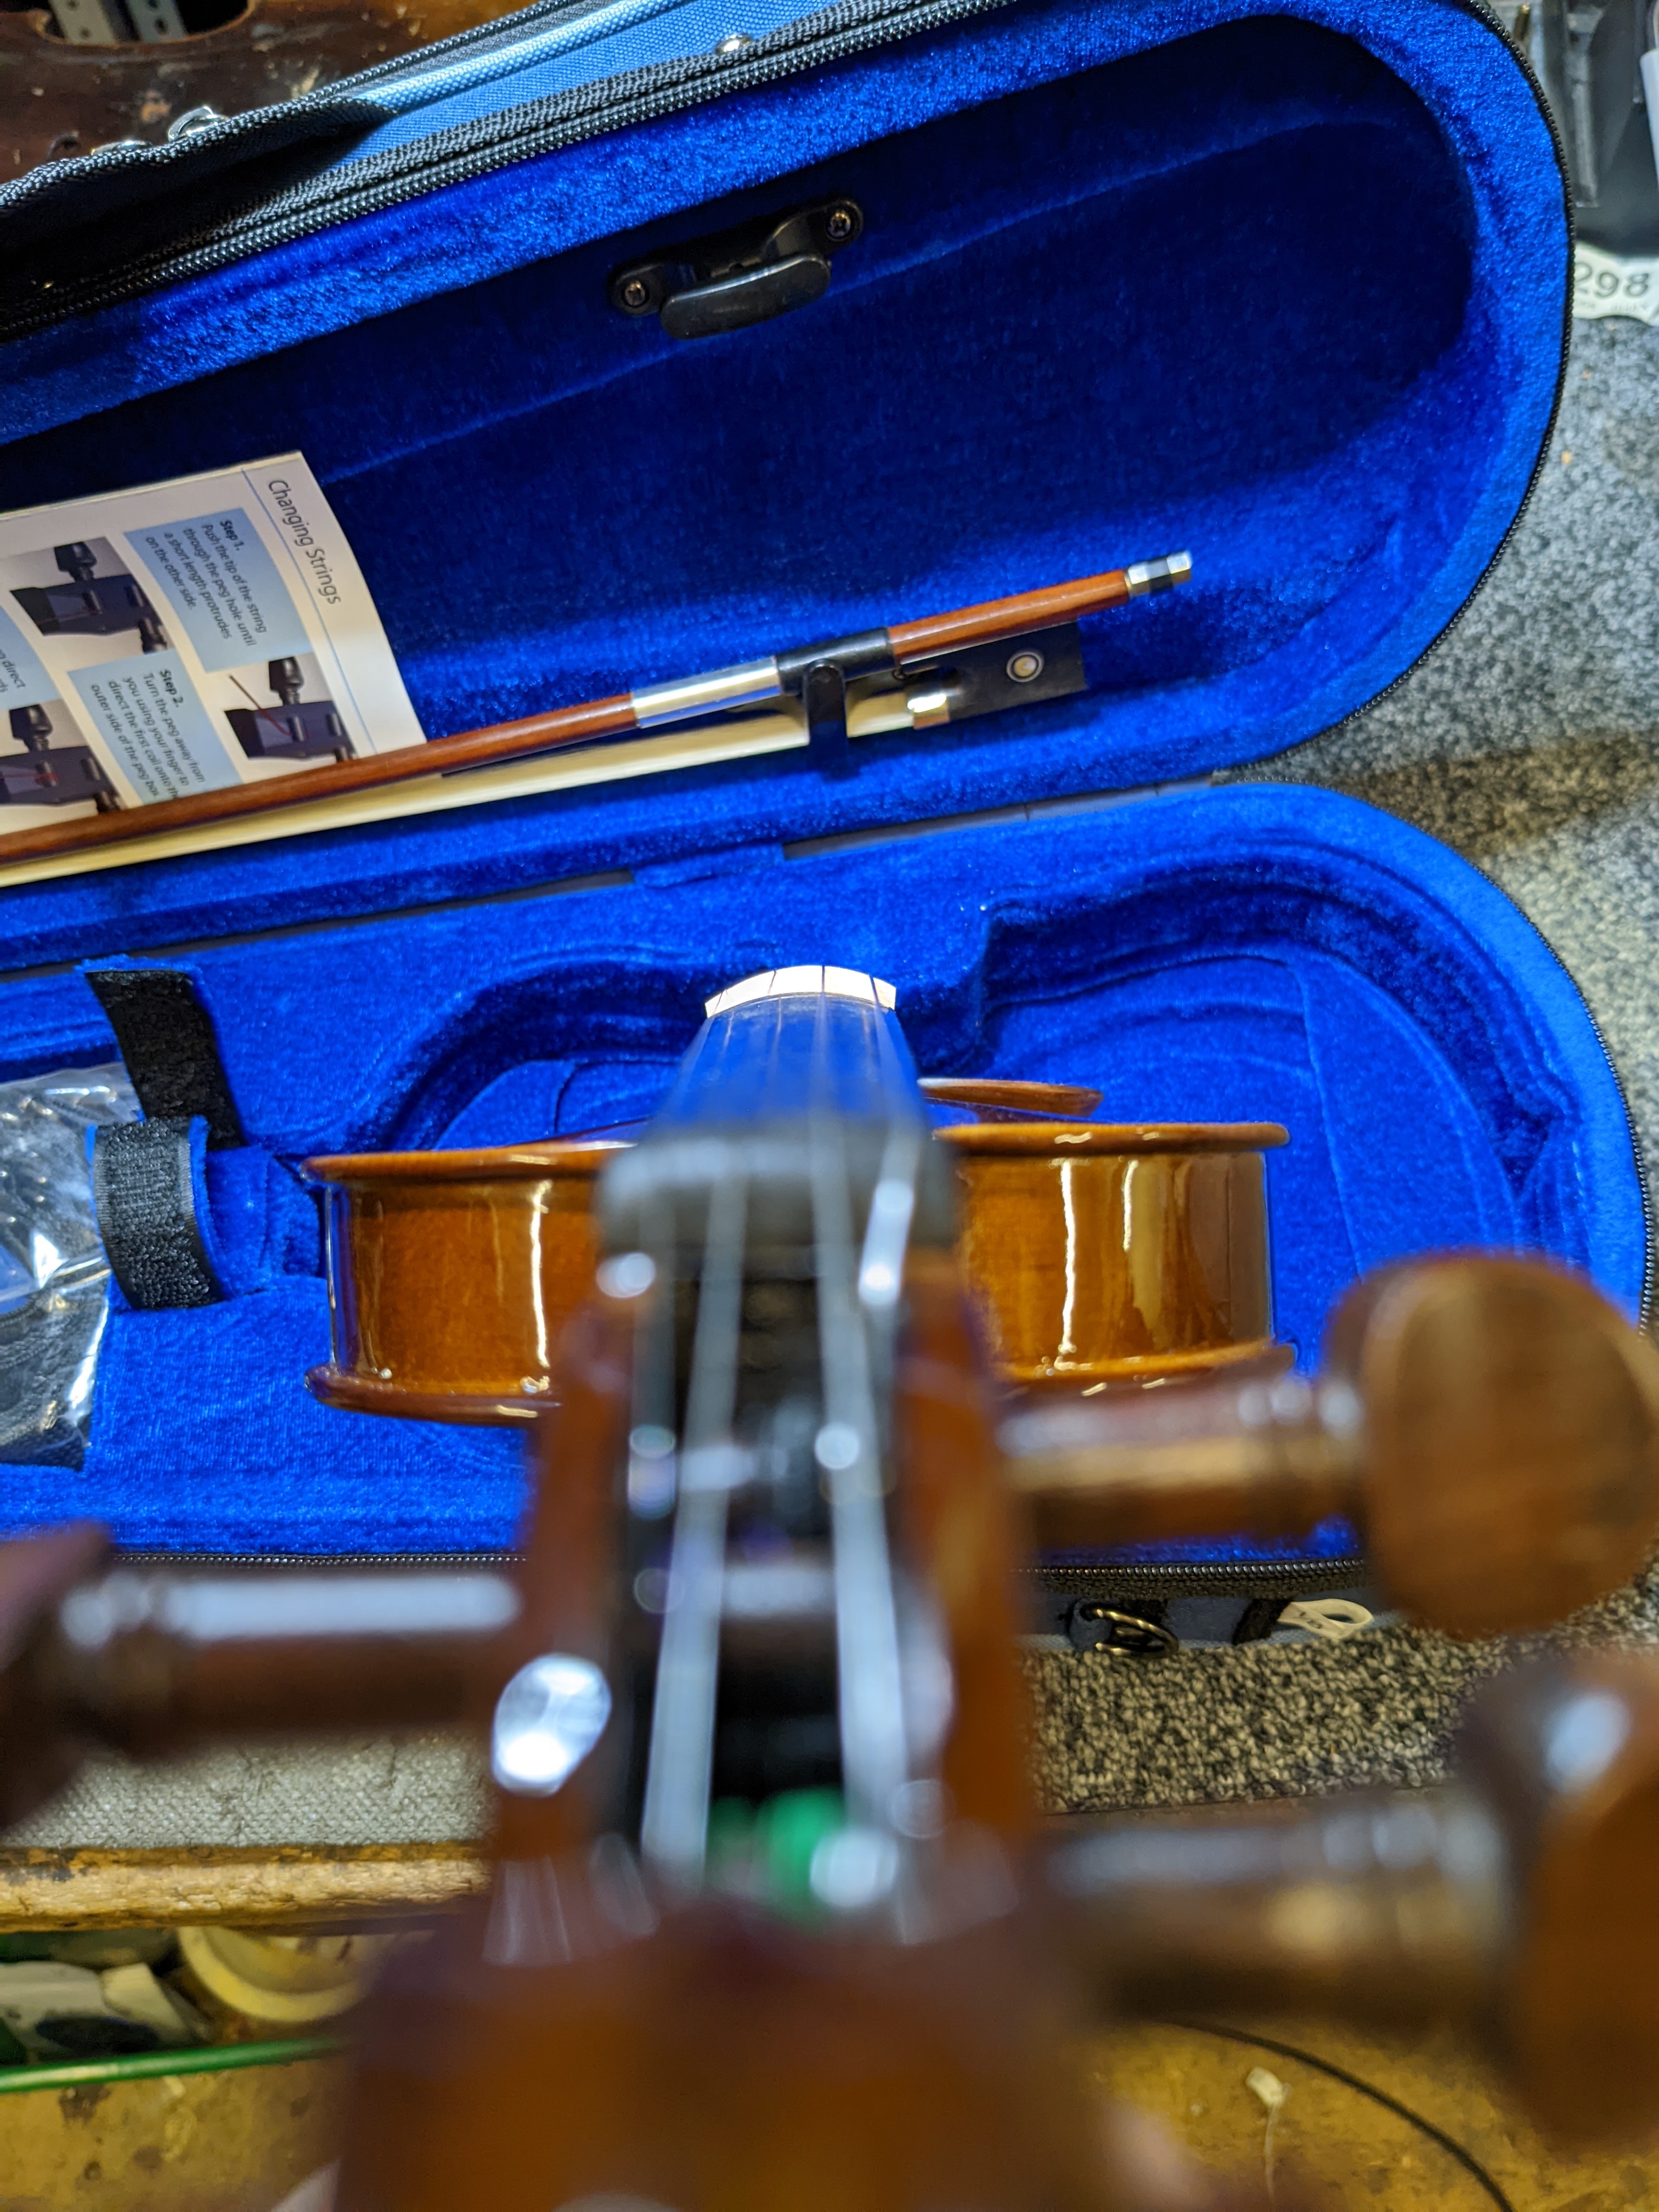
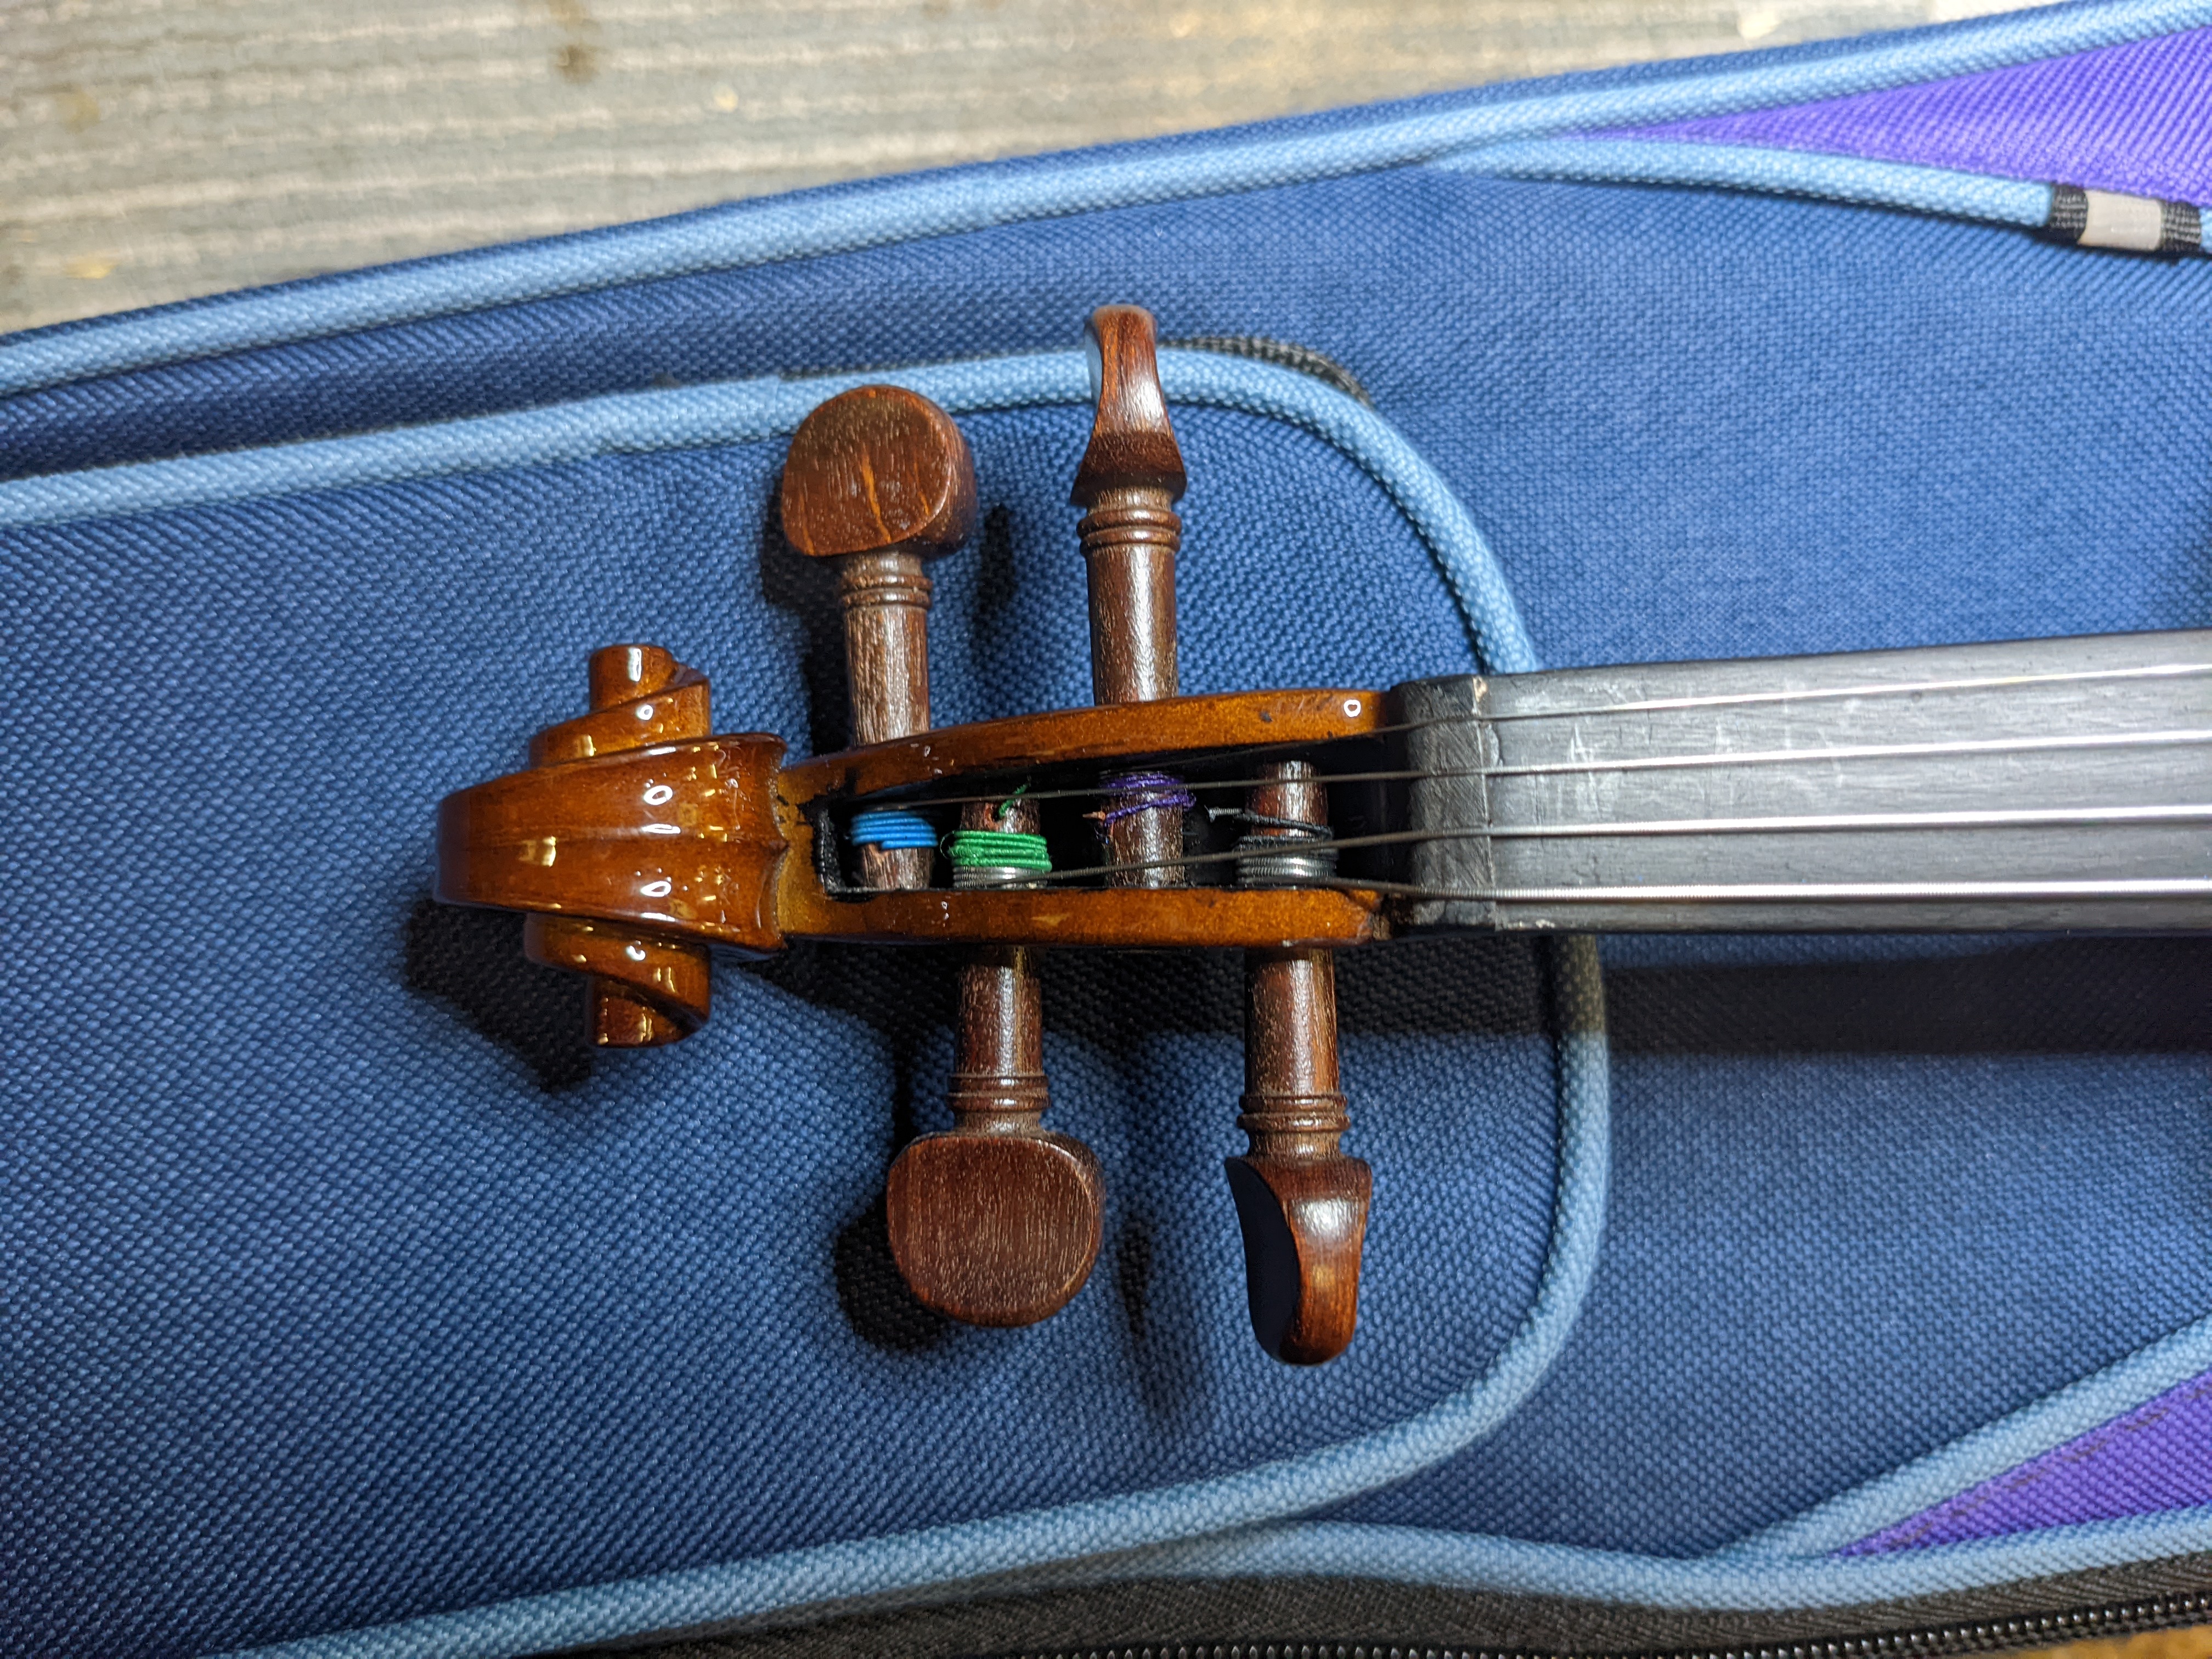
Last, but not least, I'll check the violins pegs. Here I tune up the violin and check the pegs hold their tuning without slipping. I'll apply a little peg paste if the pegs do slip, this makes sure the pegs are nice and grippy and that the violin will hold its tuning.
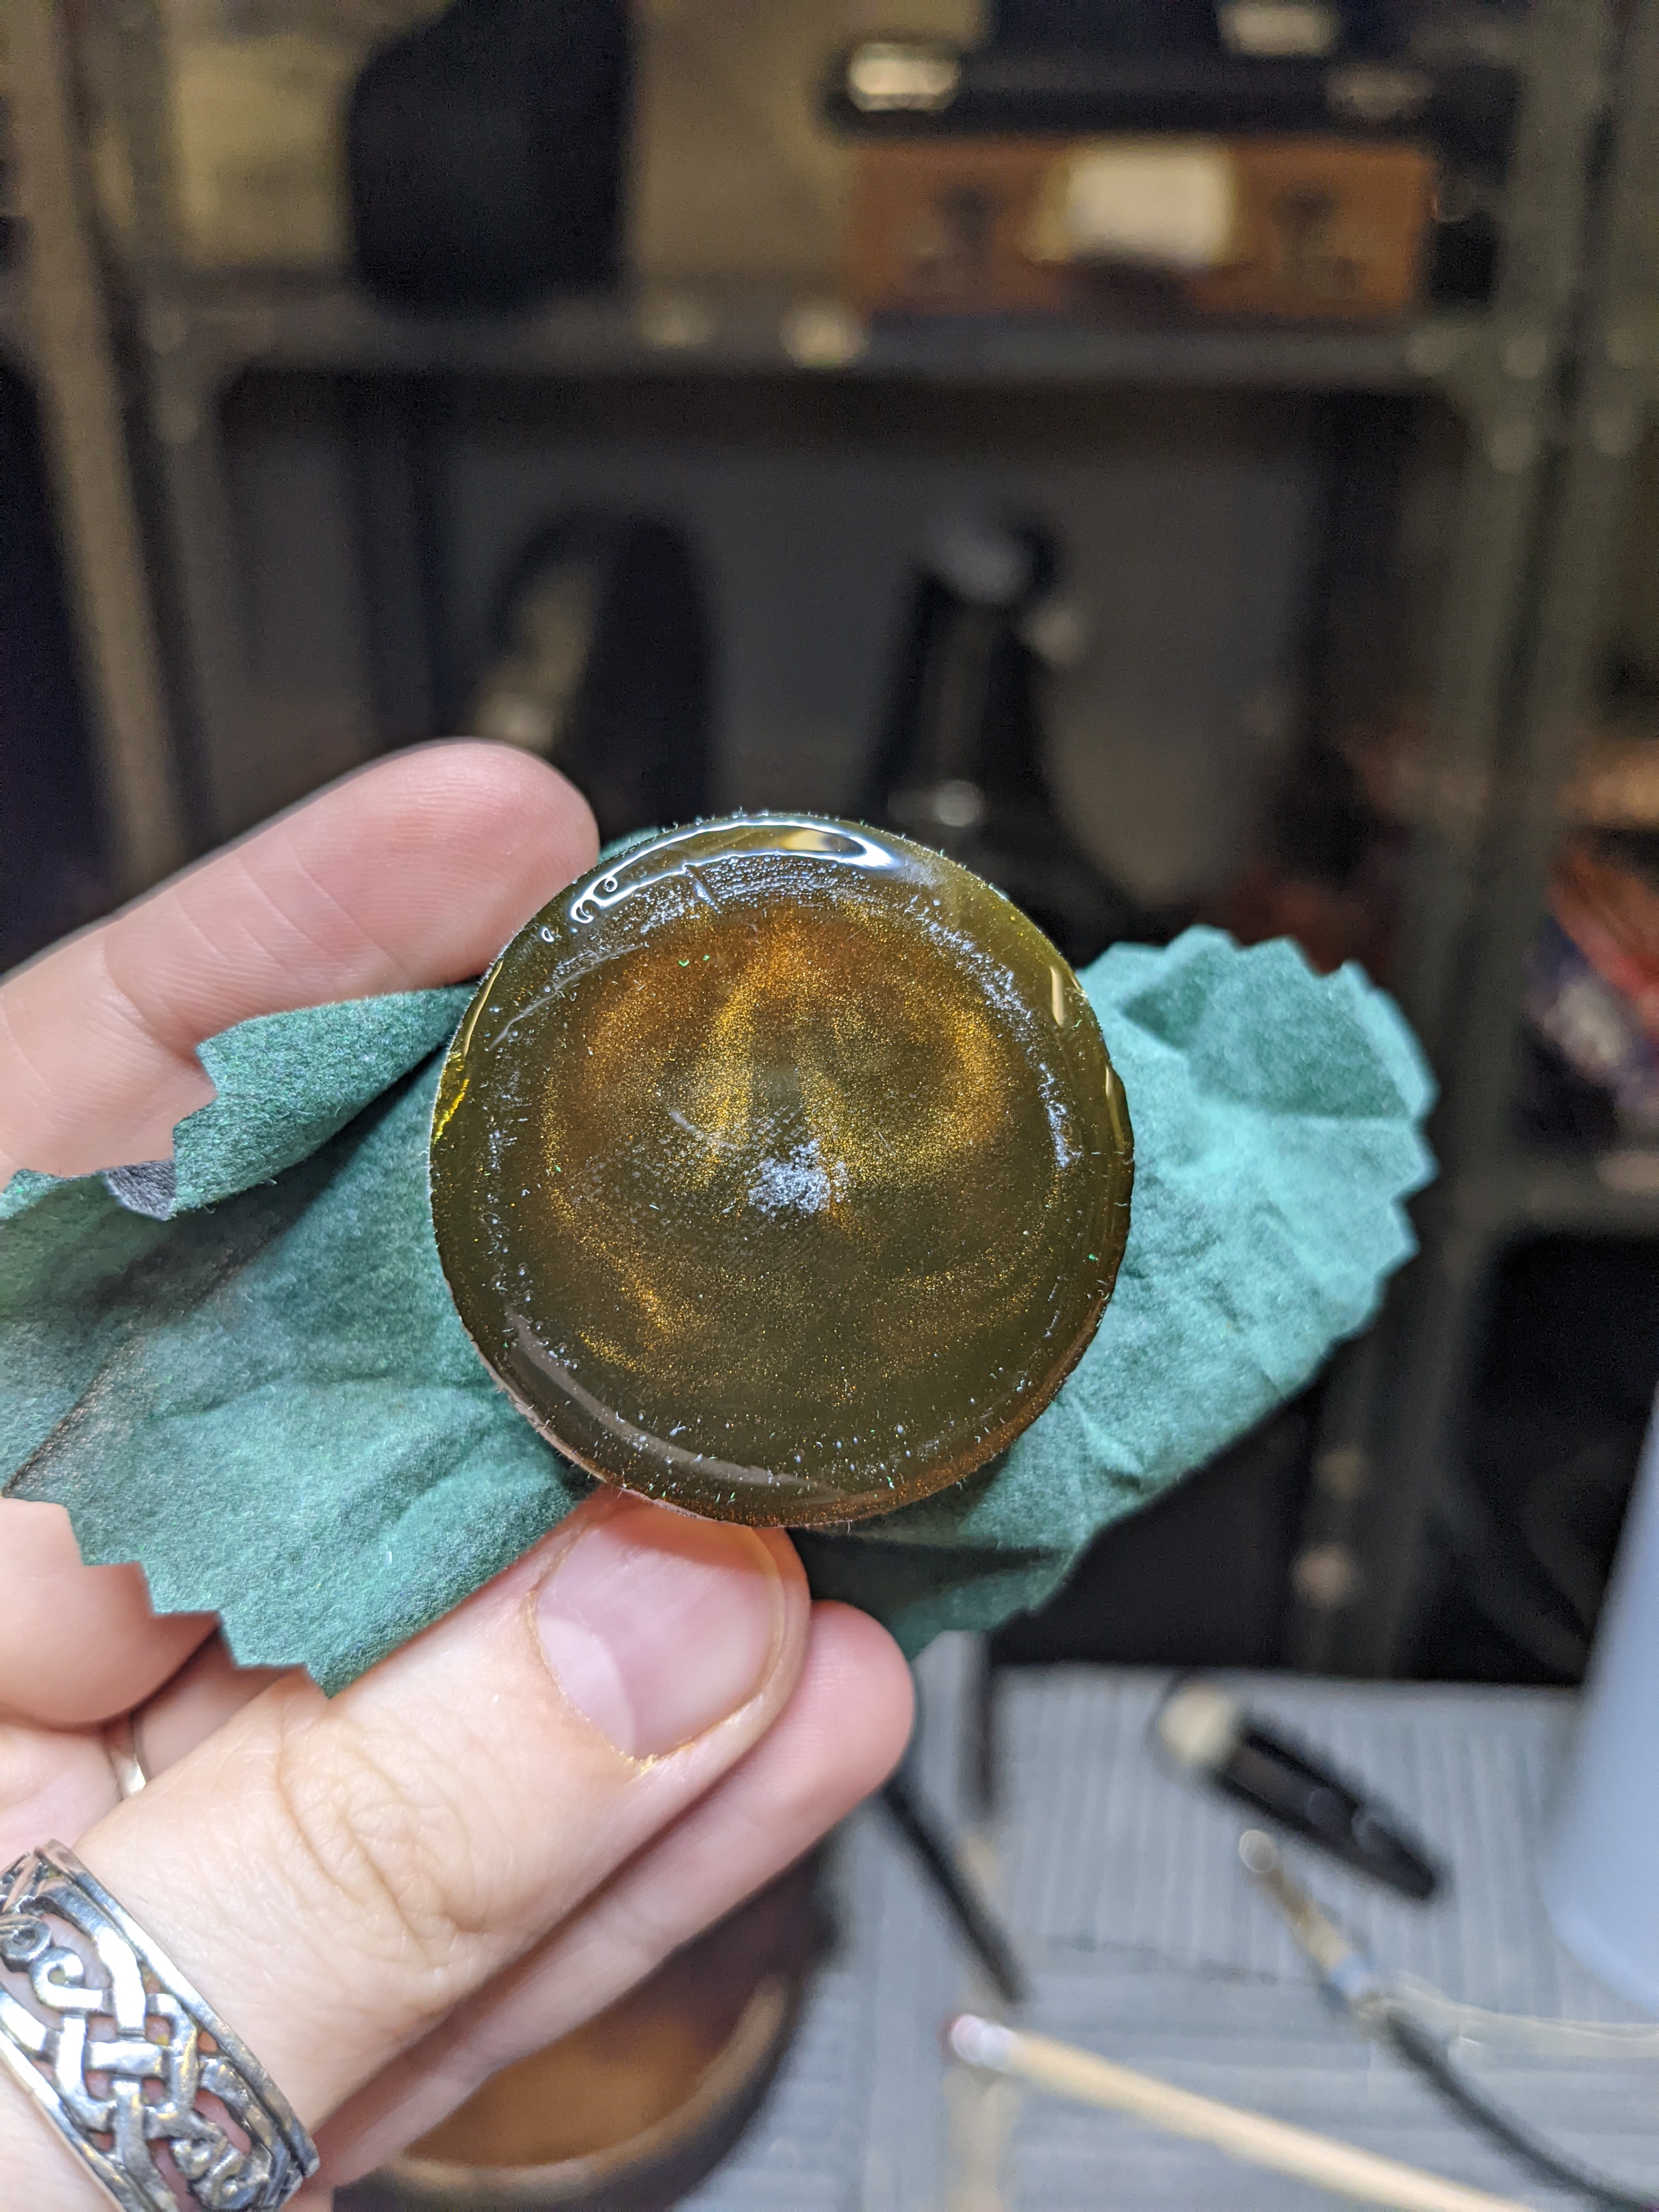
All Stentor Student Violins come with rosin, this one has a lovely iridescent swirl in it.
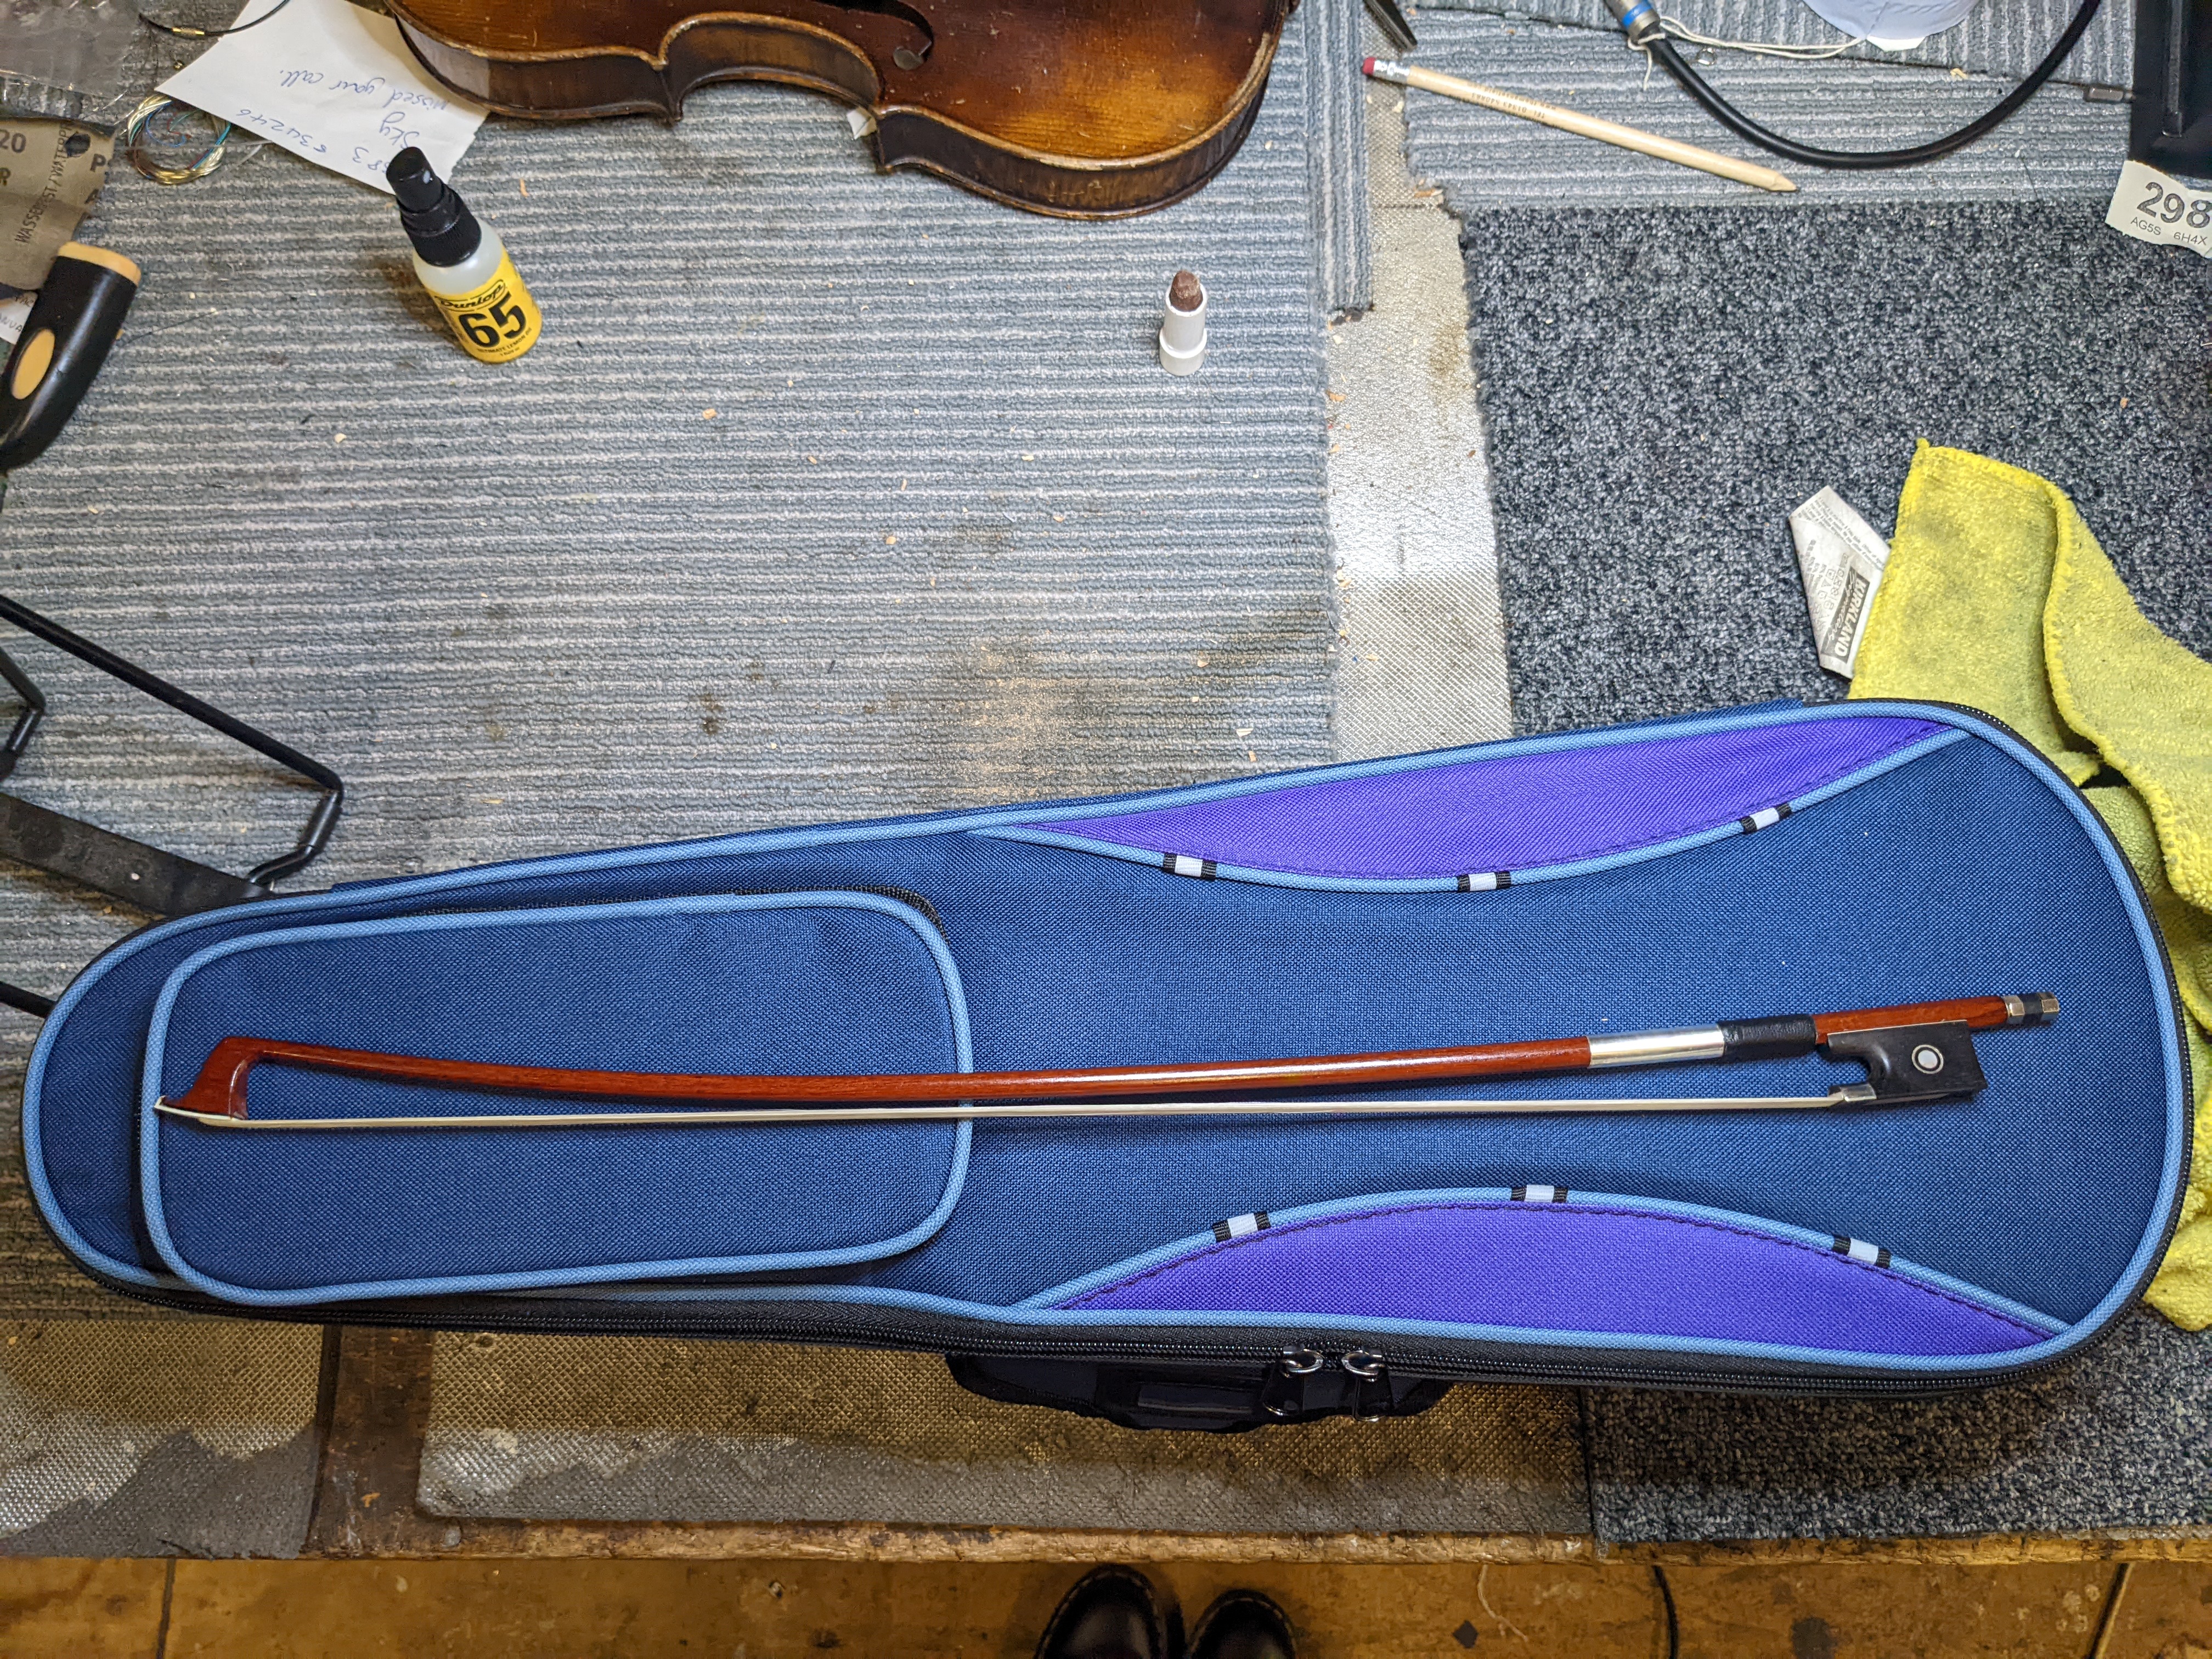
The last step is to give the bow a once over and make sure it survived the journey to us intact. This is perfect and ready to go!
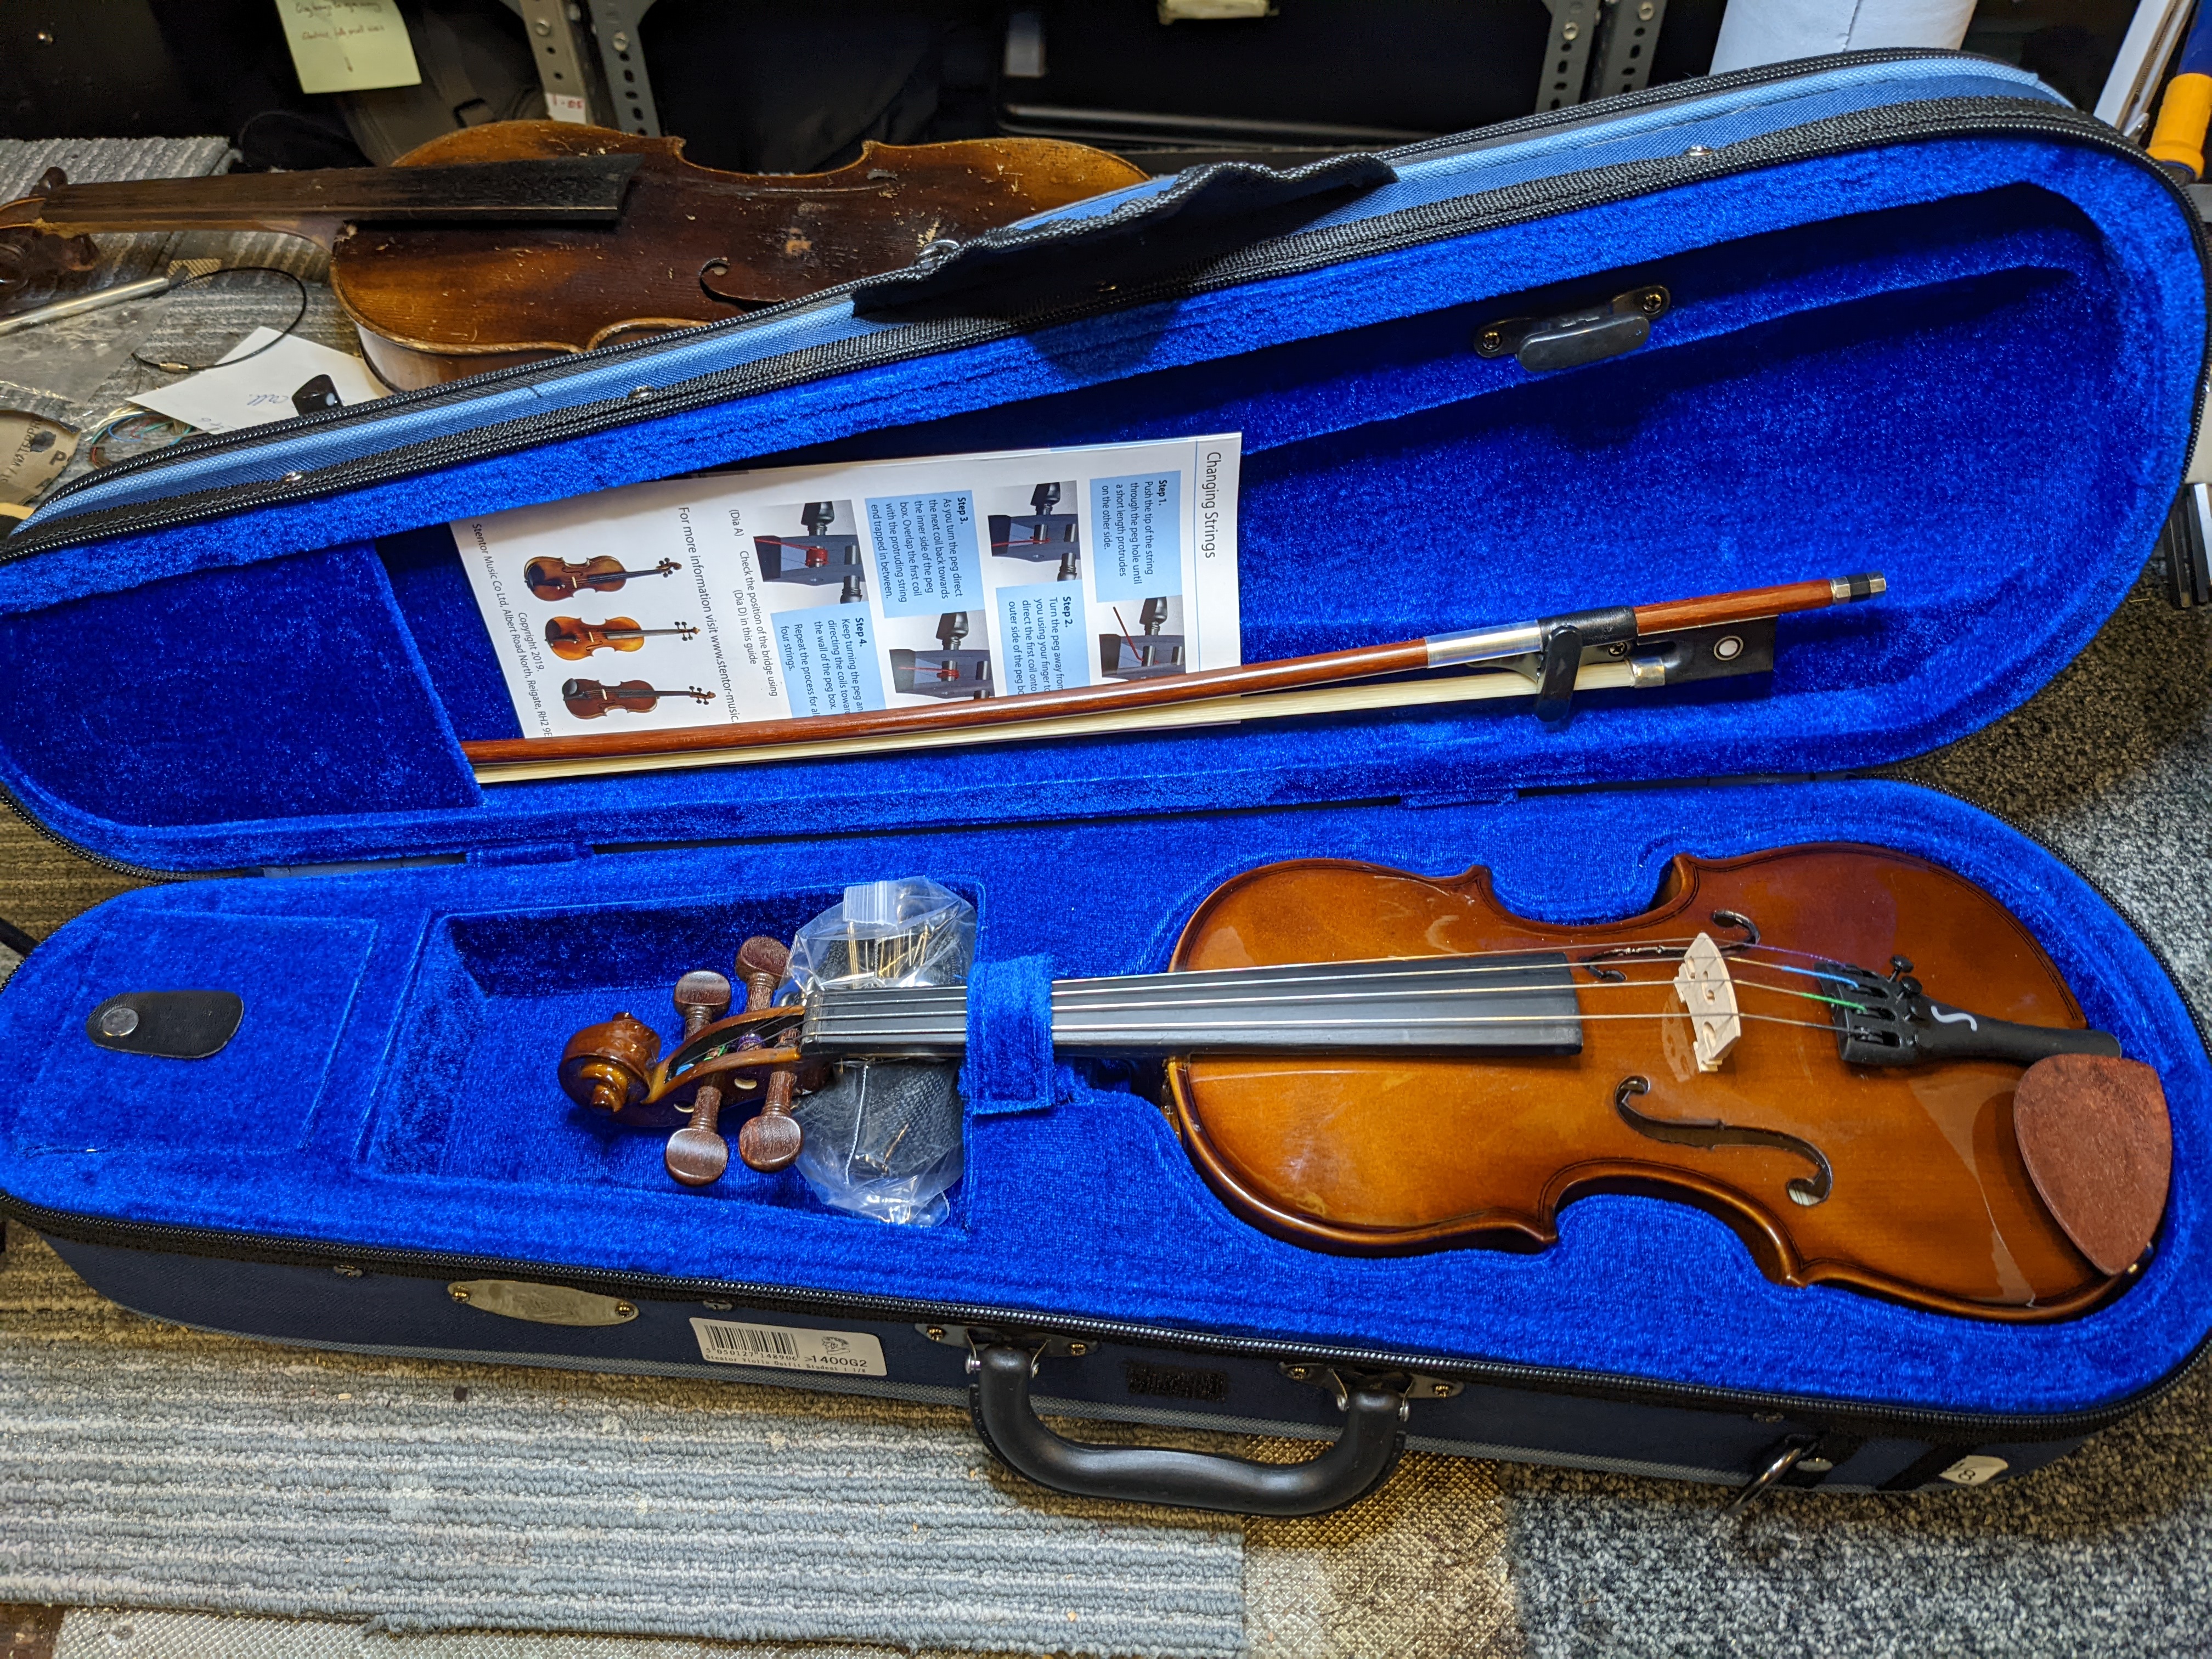
And there we go! A Stentor Student Violin all ready to be sold!
Posted On: Aug 3, 2022
Categories: Instruments , The Forsyths Blog
